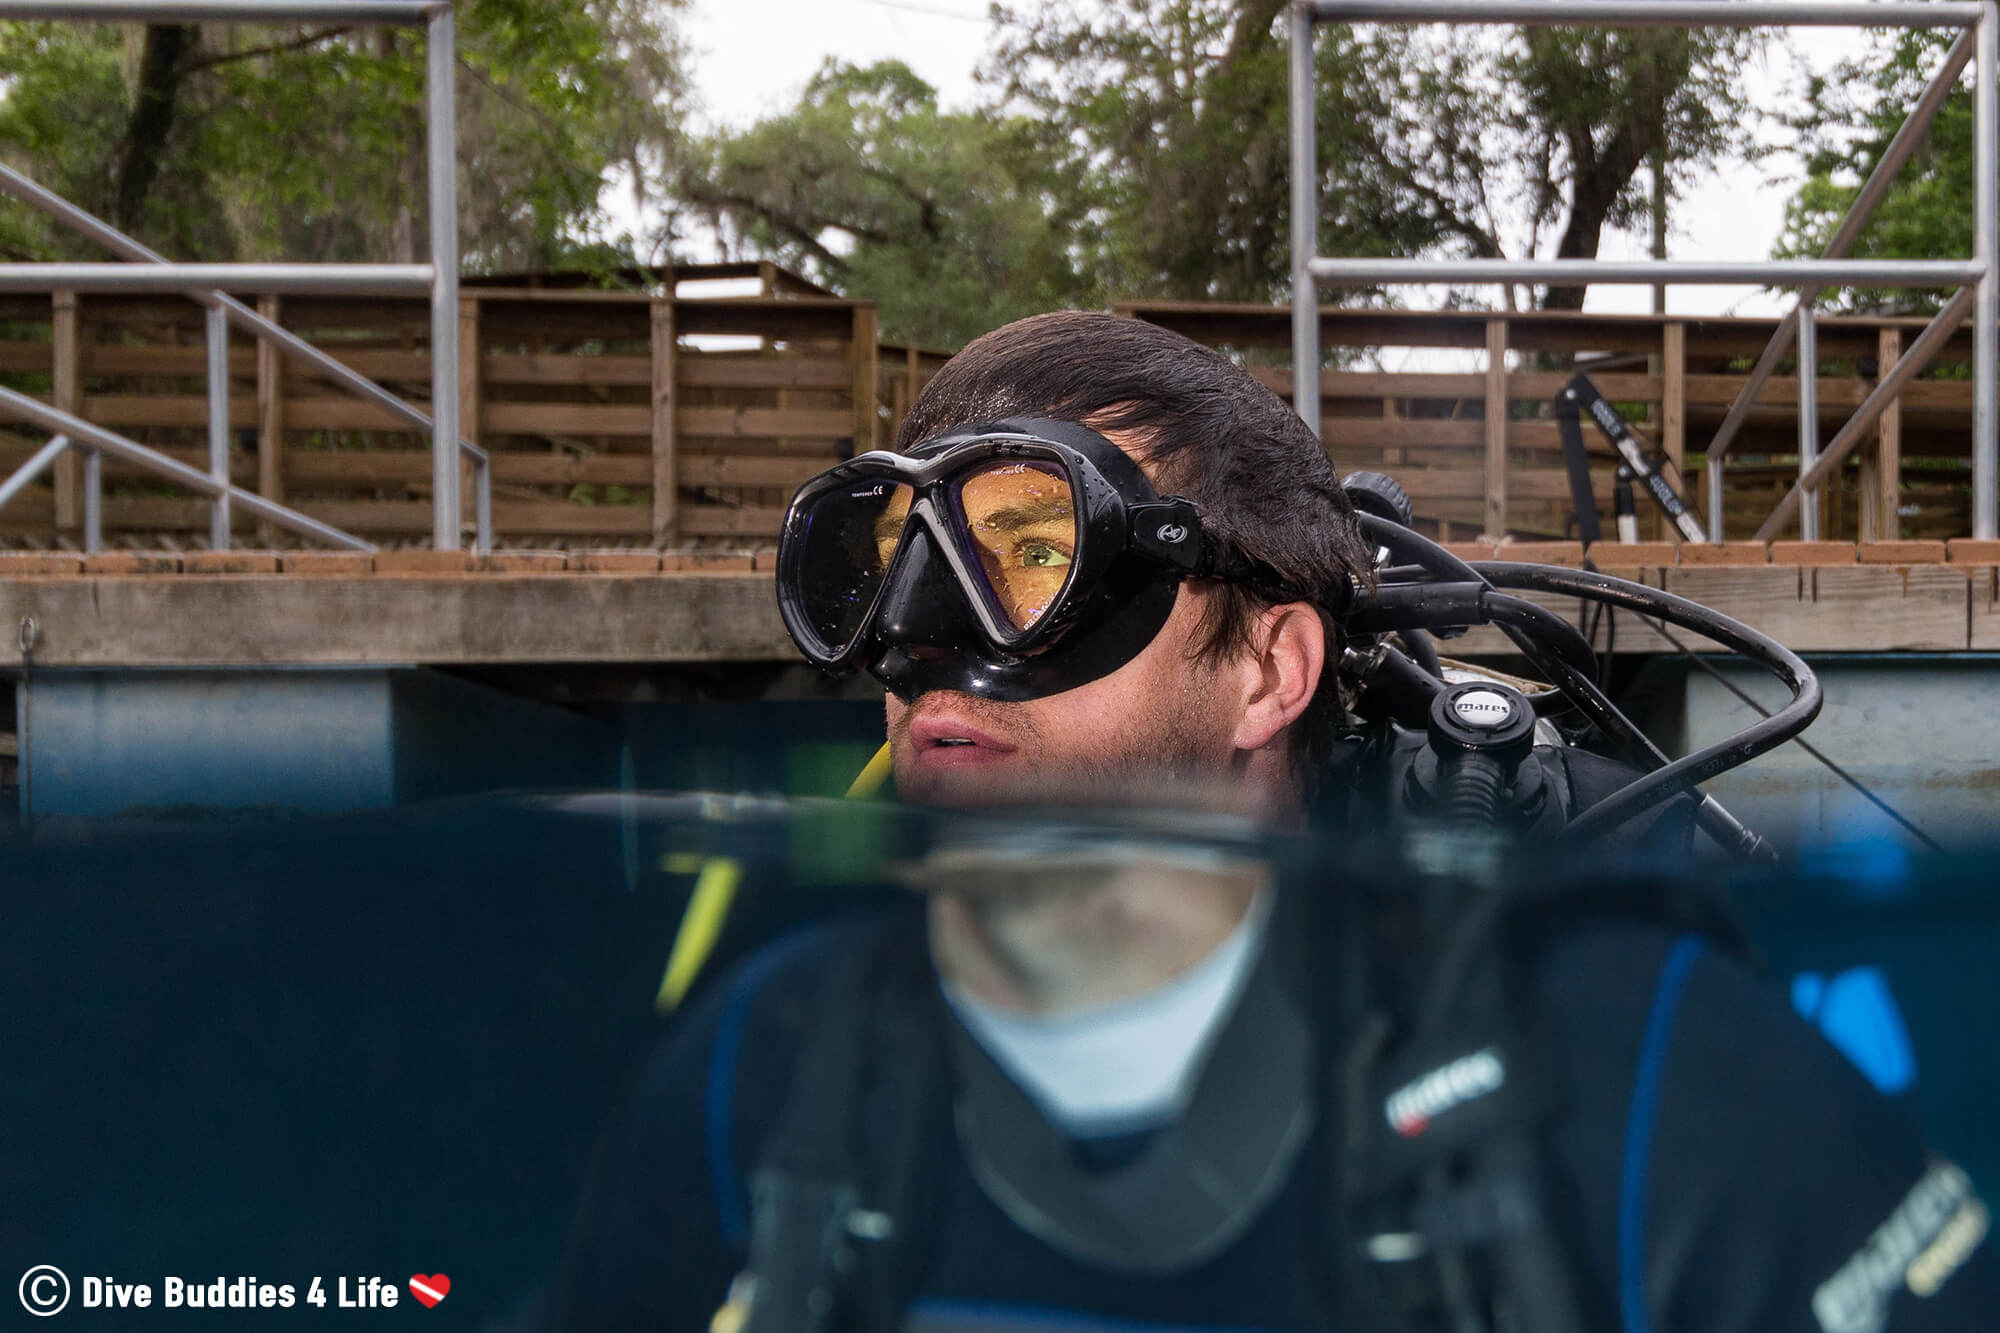
Over/under, half-in-half-out or split photography goes by many names. But regardless of what it’s called, this mixture of aquatic and terrestrial imagery is a compelling style of photography taking viewers on a dynamic journey through two vastly different realms.
Split shot images are a fantastic way for photographers to show the interconnected relationship between land and water habitats. This half-in-half-out vantage point typically includes a section of an image above the water and a bottom half below.
Split shot photography is a fairly straightforward style of shooting – and once a photographer has the necessary equipment and technique can yield some spectacular results. This type of photography does require practice, patience and a love of being in the water to master.
For split-level photography, the most obvious piece of equipment is a camera and lens. In terms of lens selection, the wide the better – budget permitting. Split-level photography is chiefly done with either wide-angle or fisheye to tactfully include as much above and below the water as possible in the single frame. We use a Canon EOS Rebel SL1 with either our EFS 10-18mm wide-angle or our EF 8-15mm fisheye.
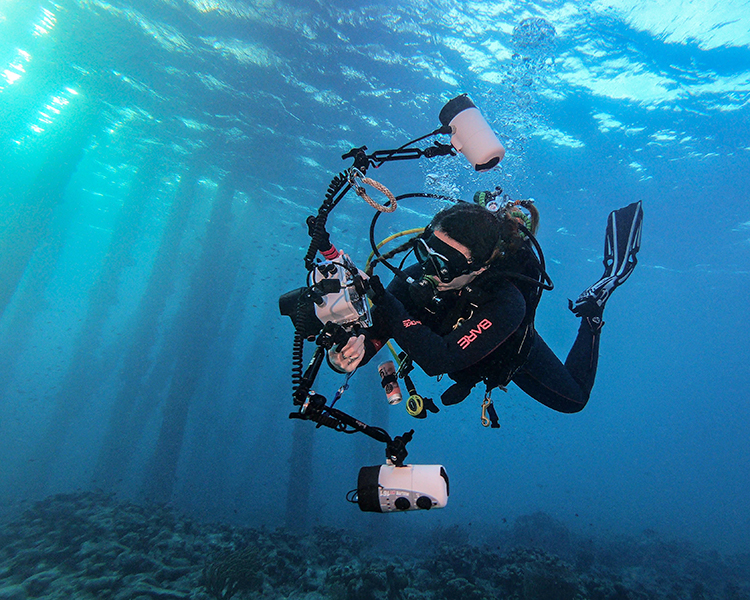
Camera and Lenses: Navigate to our shop and check out what Dive Buddies 4 Life is using for photography equipment. The collection of canon camera and lenses are the perfect fit for our underwater housing and dome ports.
Another obvious piece of equipment is the waterproof casing and dome port, as this type of photography requires the camera and lens to be partially submerged in the water. A good rule of thumb for over/under photography is the larger the dome port, the easier it will be to capture split shots. Even in flat sea conditions, small ripples in the water can look like tsunamis through the camera lens. A larger dome port allows more control over the water positioning giving photographers room to concentrate on composition. It creates an air pocket which makes dividing the frame and deciding where to situate the waterline much easier.
An additional perk to a larger dome port is in the focusing ability. One of the hardest challenges over-under photography is getting all aspects of your shot in focus. With a large dome port keeping focus on both land and water is greatly facilitated.
A good cost-efficient alternative to cameras, lenses and underwater housings is a GoPro. GoPro’s are amazing and affordable photo and video devices that can capture some pretty epic moments. They are compact, lightweight and if paired with the appropriate housing, can produce some fantastic half-in-half-out underwater shots.
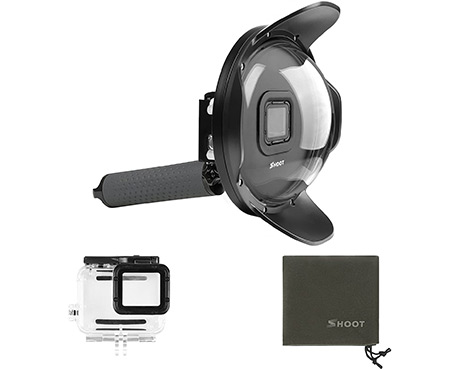
GoPro Underwater Dome Port: The SHOOT 6″ underwater dome port for GoPro Hero 6/Hero 5/Hero Black diving lens hood housing is waterproof up to 30 meters (100 feet). It is the perfect lens to capture 50/50 images and improve your underwater camera shots.
Two optional items of equipment for over/under shots are waterproof camera strobes and a snorkel. As the main photographer for Dive Buddies, my setup includes two powerful DS161 Ikelite strobes anchored to extendable arms on either side of our camera dome. These strobes aid in lighting up the underwater portion of the frame on overcast or darker days. Depending on the scenario I use a snorkel as well. Believe it or not, most split-shot photography is captured using snorkeling because there is no need to go deeper. Extra dive gear can be cumbersome and exhaling bubbles through a regulator can ripple and distort the smooth surface layer.
After determining split shot equipment necessities, the next thing a photographer needs to worry about is starting camera settings. This can vary across compact and DSLR cameras. Our suggestion for slip shot newbies with a DSLR – set your camera up for manual shooting as follows:
Shutter speed:
1/100
Aperture:
f/11
ISO:
200
For obvious reasons, photographers will want a large depth of field for split shot photography in order to capture both environments. In most cases, over-under shots include an underwater subject within a meter or two of the lens and a topside subject or scene from 3 to hundreds of yards away. A low f-stop will ensure the background and foreground are in focus. When possible using an f-stop that is f/11 or lower (F16 or F 18) is preferable, however, adjust your settings according to the amount of light.
Shooting with a small aperture also requires close consideration of shutter speed. It will need to be 1/60 or above for sharp images. We like to use shutters speeds of 1/100 or 1/125 to properly capture the moving waterline and any underwater subjects.
With half of your image being underwater using a slightly higher ISO setting than land photography is needed to capture more light underwater. We try to keep our ISO at either 100 or 200 but sometimes will err a little higher. That being said, keep your exposure in mind to avoid any blown-out sky or highlights.
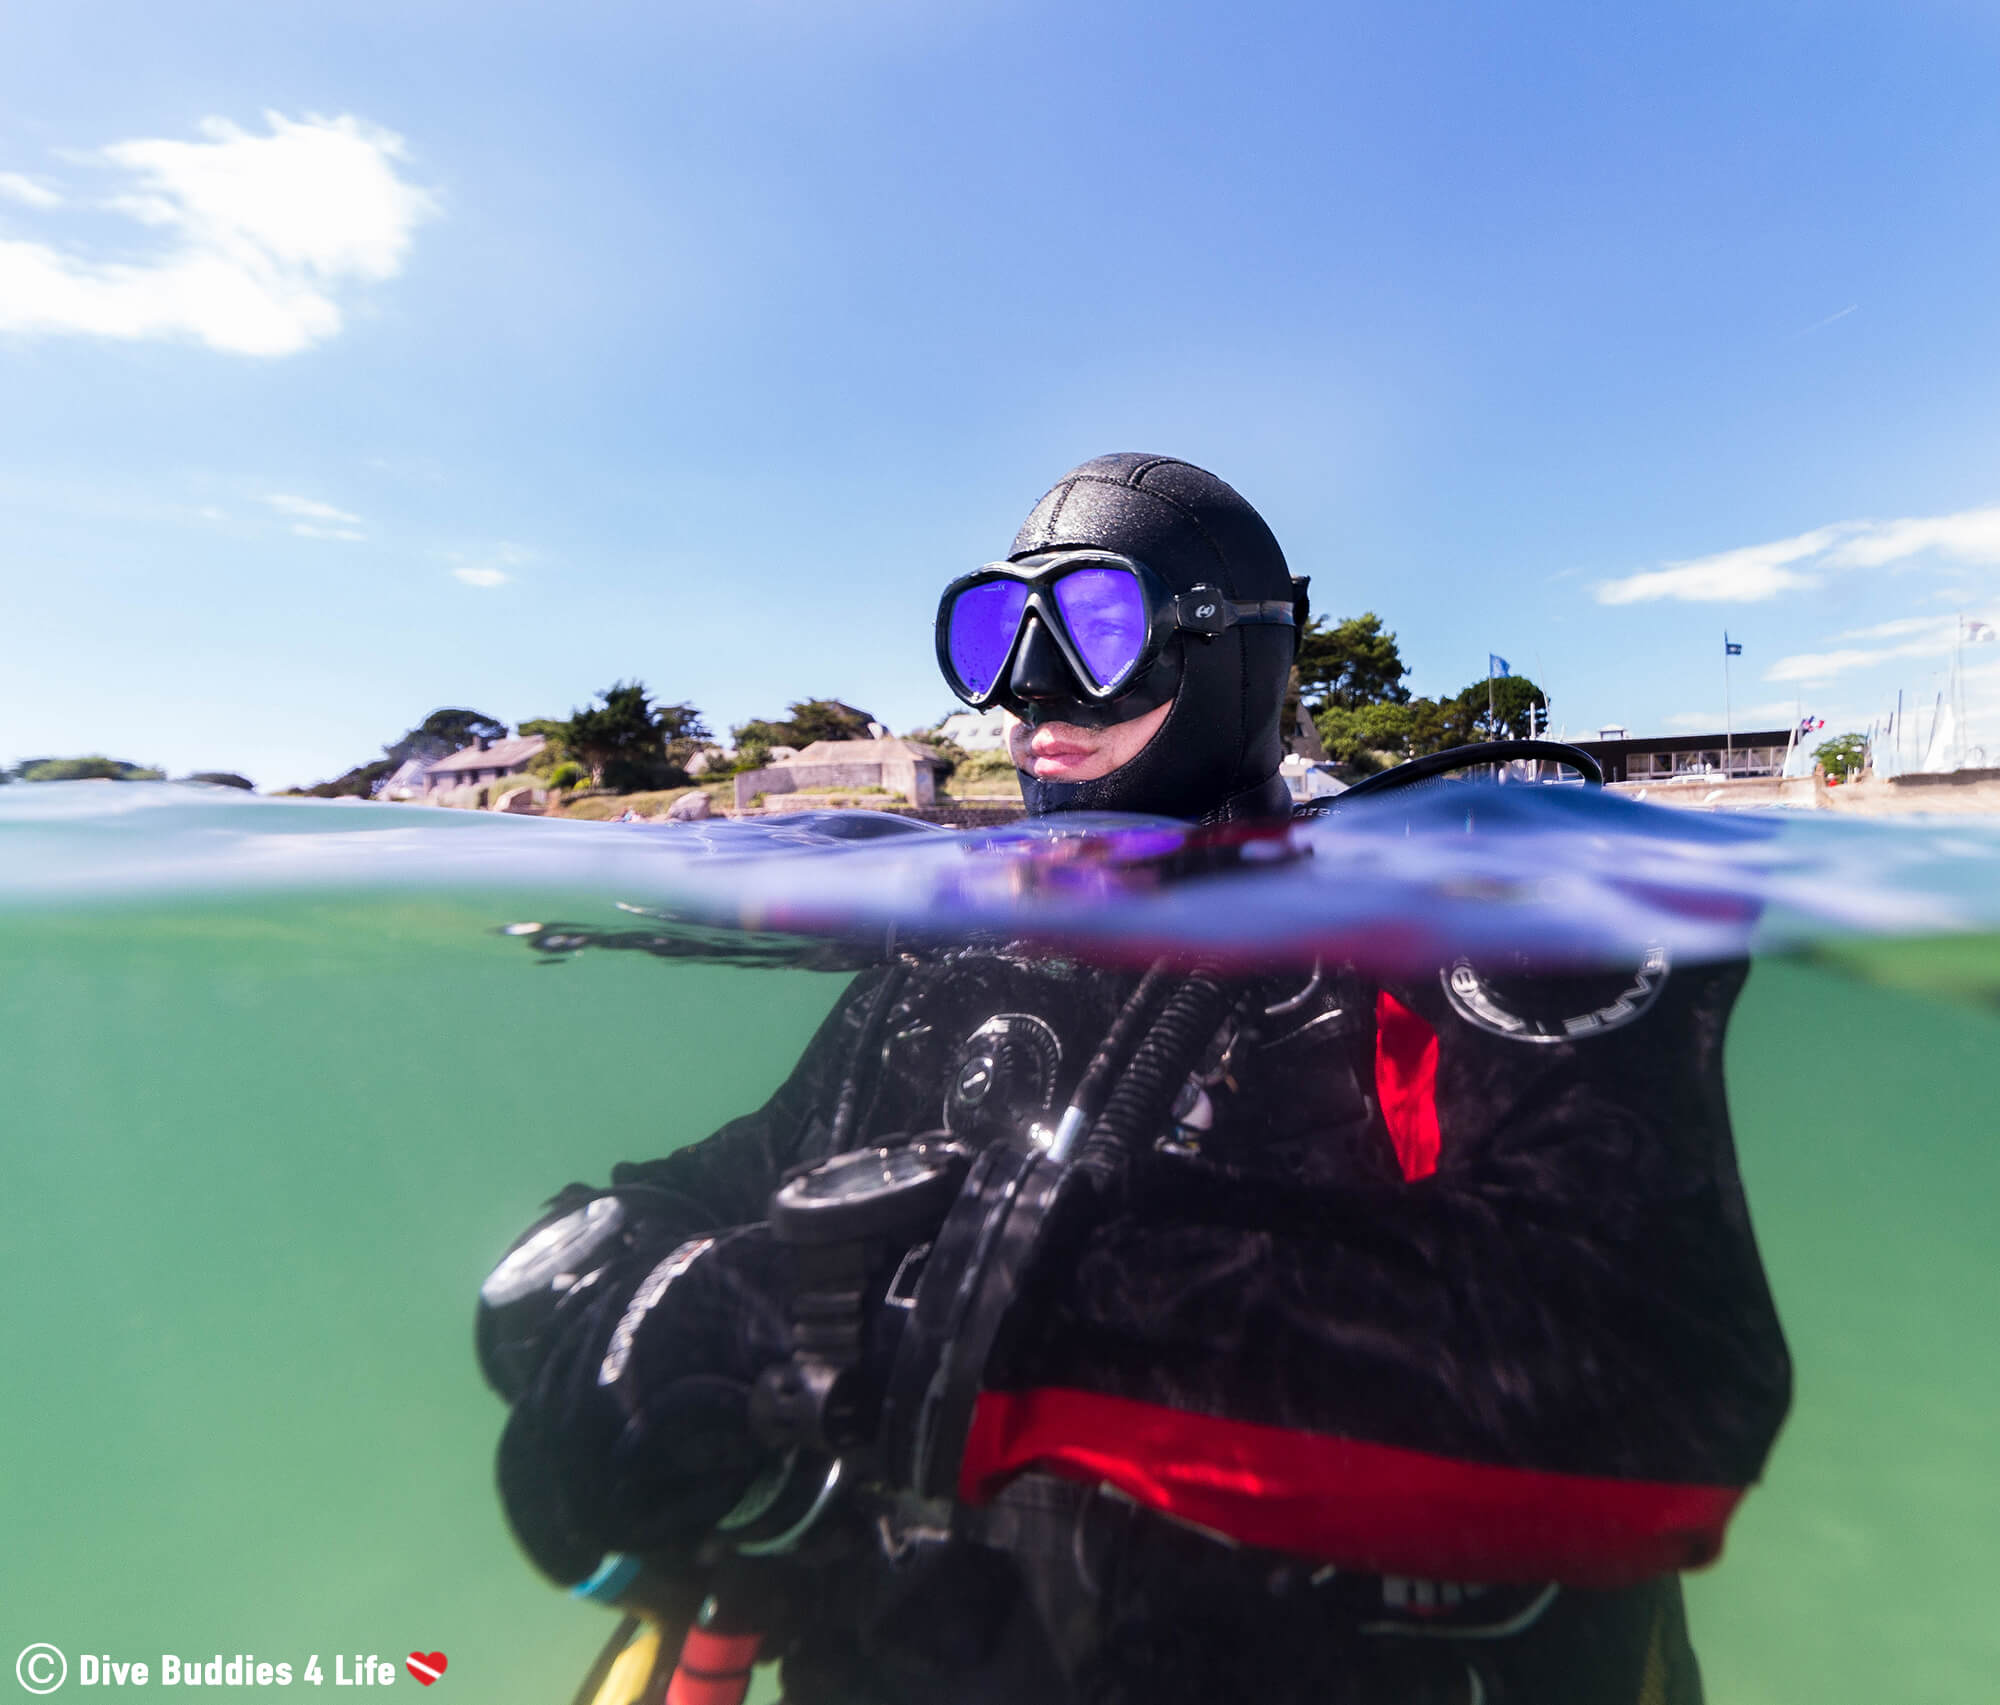
Over-under photography can be a little more challenging than it first appears. Here are some tips and tricks worth considering during your next split water photoshoot:
A good split shot is made up of a strong topside scene, a strong underwater scene and a water line across the frame. Some of the most compelling over/under images have interesting elements in both segments. Above the water can be as simple as a boat, an island or clouds whereas the below water frame can be filled with fish, reefs or a swimmer.
In composing the image, keep in mind the focus point of the frame. Focus on the most interesting aspect of the image – what you as the photographer want to highlight. For animals, this could be their eye, for people it could be their face, for a boat it could be the bow. Excellent over/under’s are easily recognized by a prominent in-focus subject.
Where focus could be a challenge is with a dome port with a lot of scratches. With these, an autofocus camera will likely use the scratches as the point to focus on resulting in images lacking a crisp sharpness.
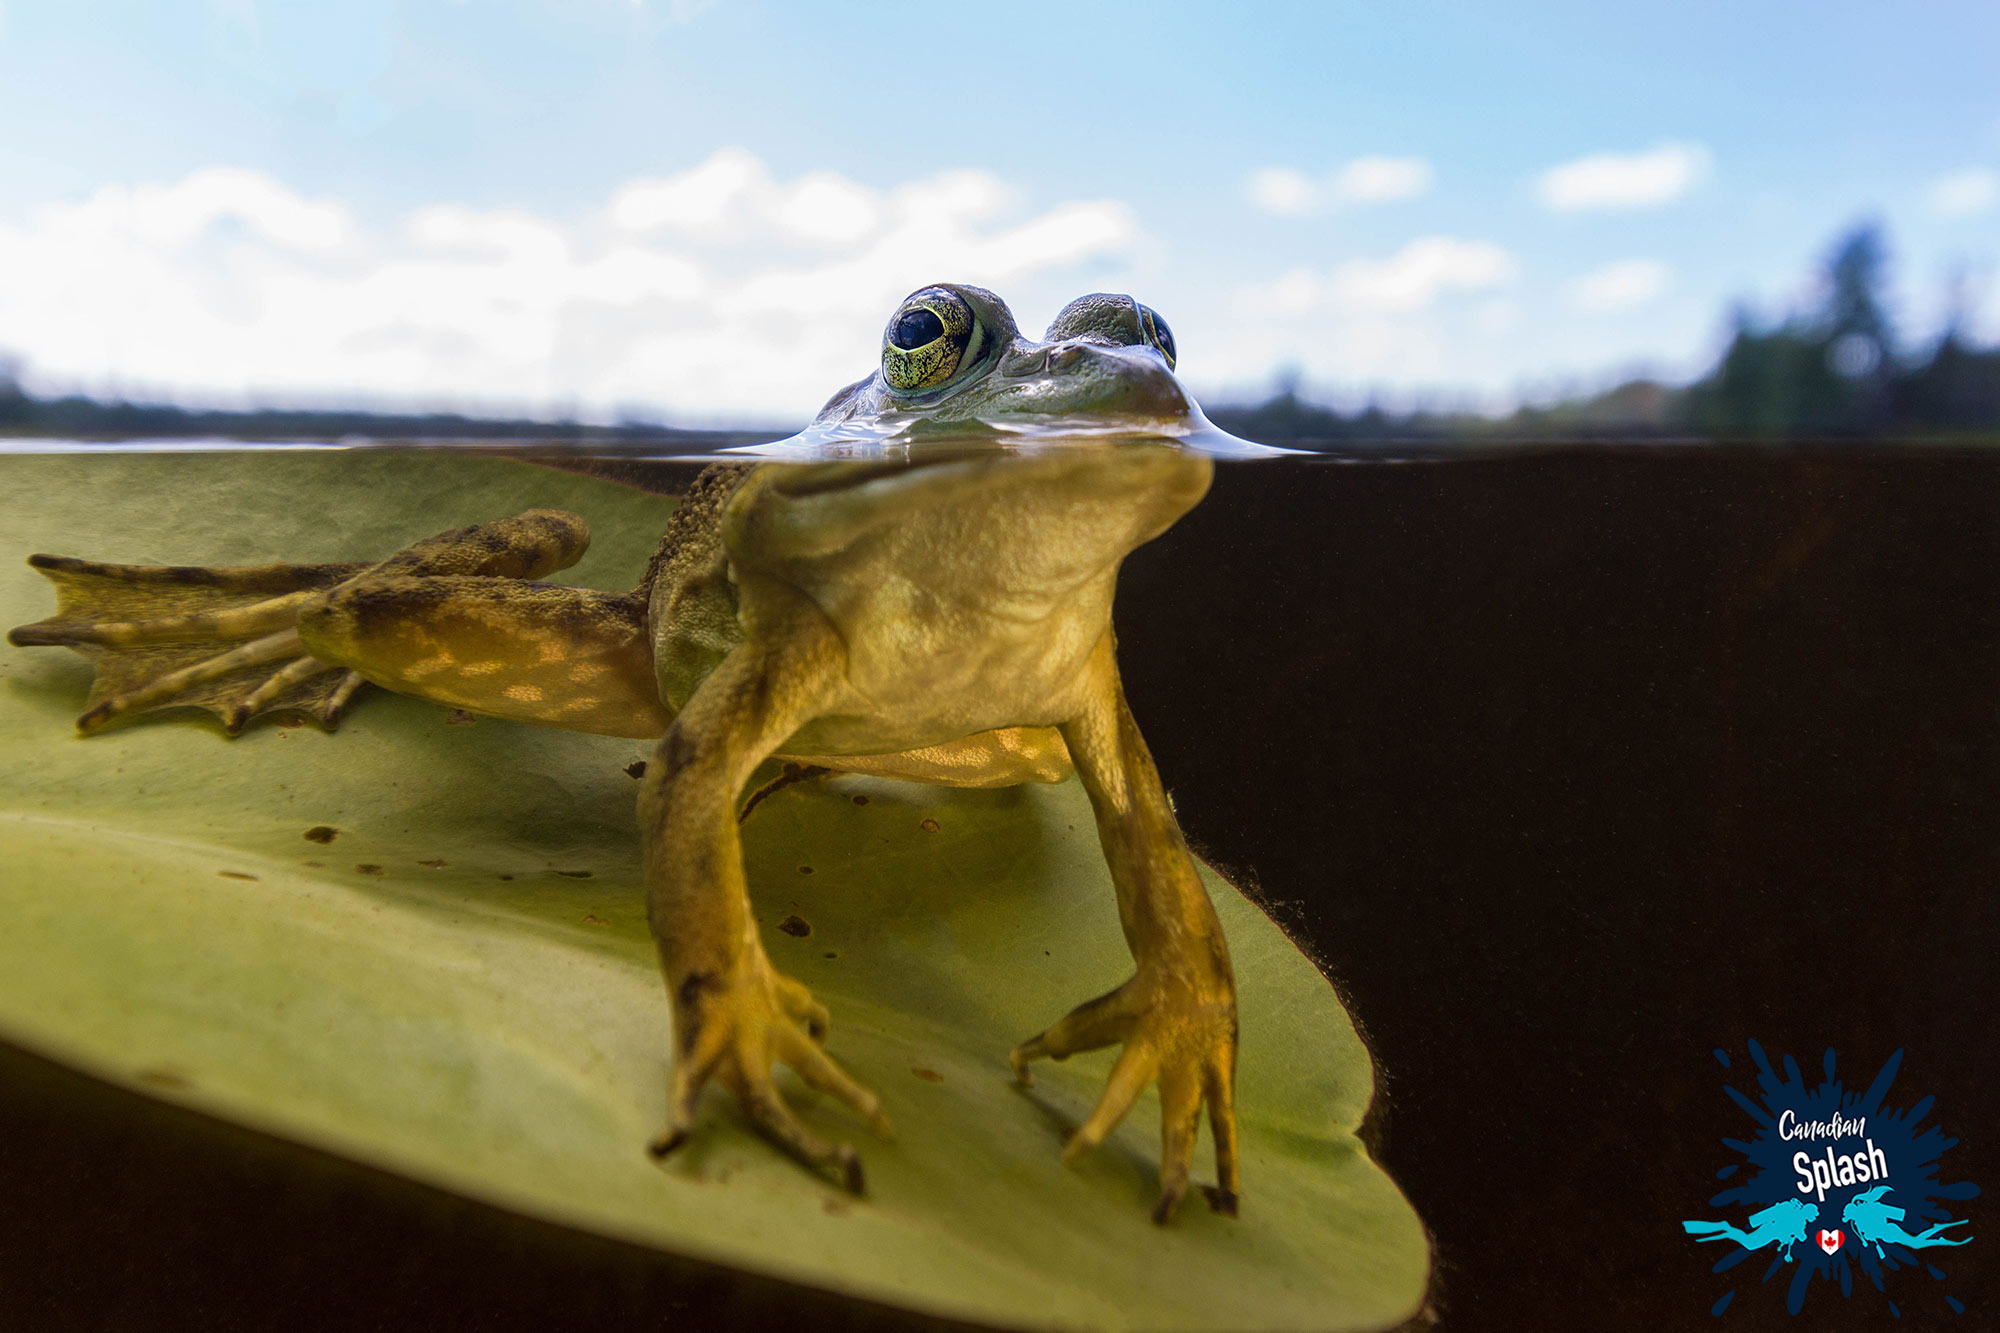
Calm and clear water usually produces the best results for split shot photography. Try to plan your shoot for a bright sunny day (mid-day sun penetrates the water best) and if possible use strobes or a flashlight for the underwater sections. If you can’t get out at mid-day shooting with the sun at your back gives you less difference in exposure between the sky and underwater. Sunrise or sunset when the light is low can also be a great time for split shot photography. The soft golden light provides amazing images but shooting at this time makes strobes essential for lighting an underwater scene correctly.
Good visibility is another component of good conditions. If the location you are shooting has poor visibility, then the subject will not be as detailed and result in a boring image.
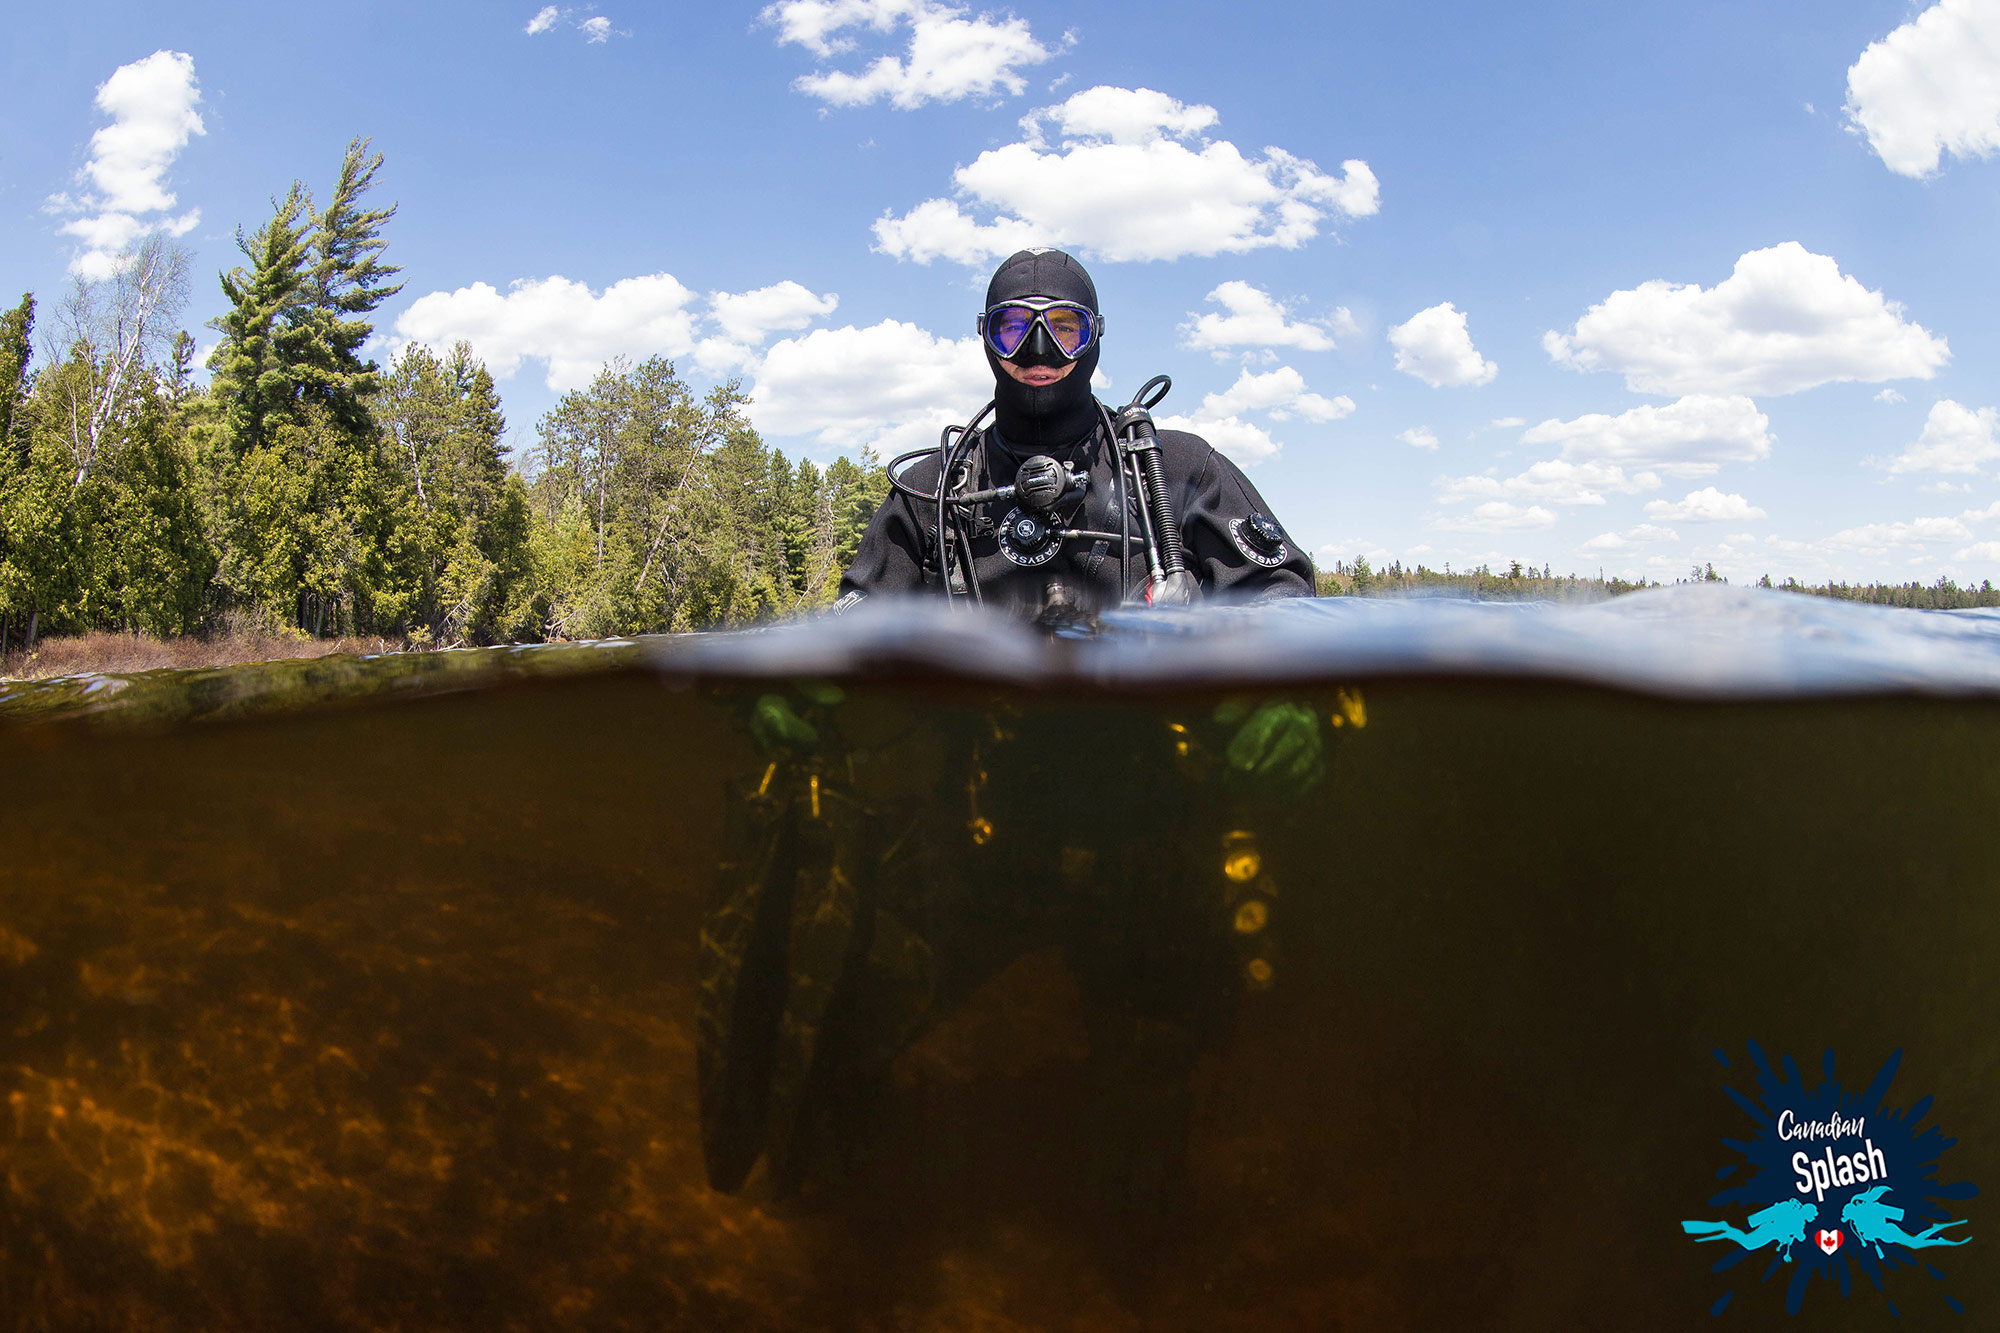
Water on your dome port accumulates into frustrating water droplets that can kill your split shot image. Although image correcting programs such as Photoshop can easily touch these marks up – sometimes a spot in a critical area is impossible to repair. The best practice is to simply prevent the drops in the first place.
Some opt for repellent products that can help overcome water beads. These include: mask defogger, baby shampoo, saliva. Others use the dunk and shoot technique where you fully submerge your camera lens then fire off a frame a couple seconds before droplets have a chance to form. A third option is to keep the top half of the dome port dry.
A more expensive water droplet solution is to use a glass dome as opposed to an acrylic one, as this last sheds water better.
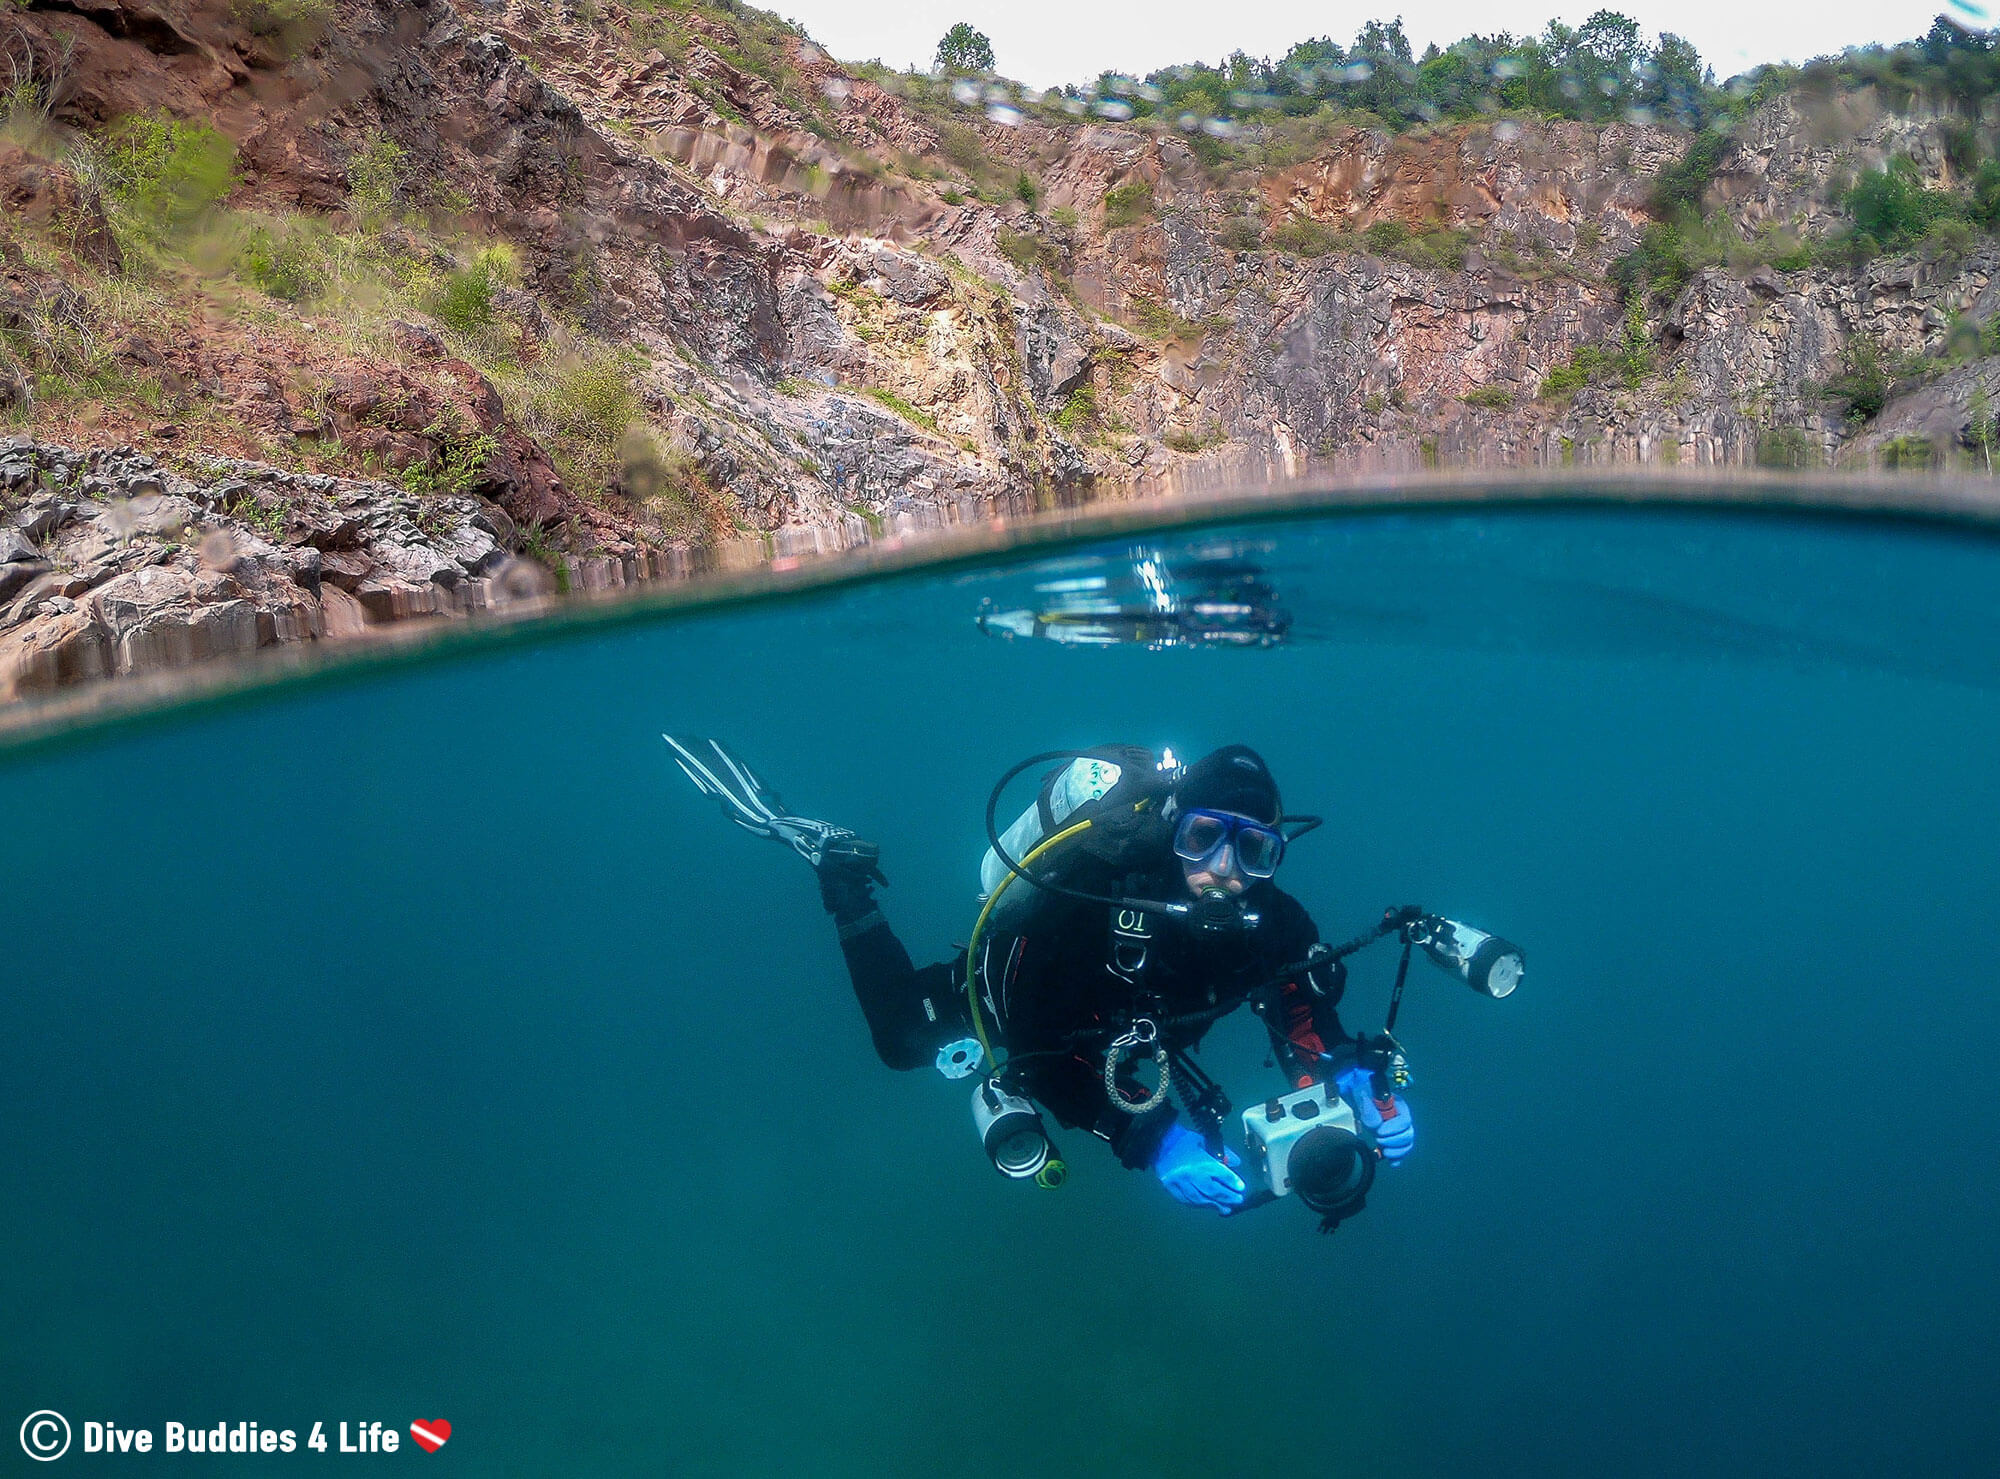
When shooting split-level images, the top half of the images will always be brighter than the underwater section, therefore it is important to balance this. Strobes are a good way of providing light to the underwater portion, however, they can be limited in their ability to light an entire scene.
Post-processing is a tool that allows the photographer to account for low-light and fix this last. In split-level photography, shoot for the right exposure in the top part of your image (the brighter land version) and afterward tweak the underwater section. Photography software such as photoshop and lightroom are two of our favourite programs to post-process images.
The art of photography is all about telling a story, and being able to see what is happening both above and below the water line is a great way of doing so. Split-level images allow viewers to appreciate topside aspects while simultaneously displaying flashes of the underwater mystic in the same frame. In our opinion, there is no better way to connect non-divers to our liquid world.
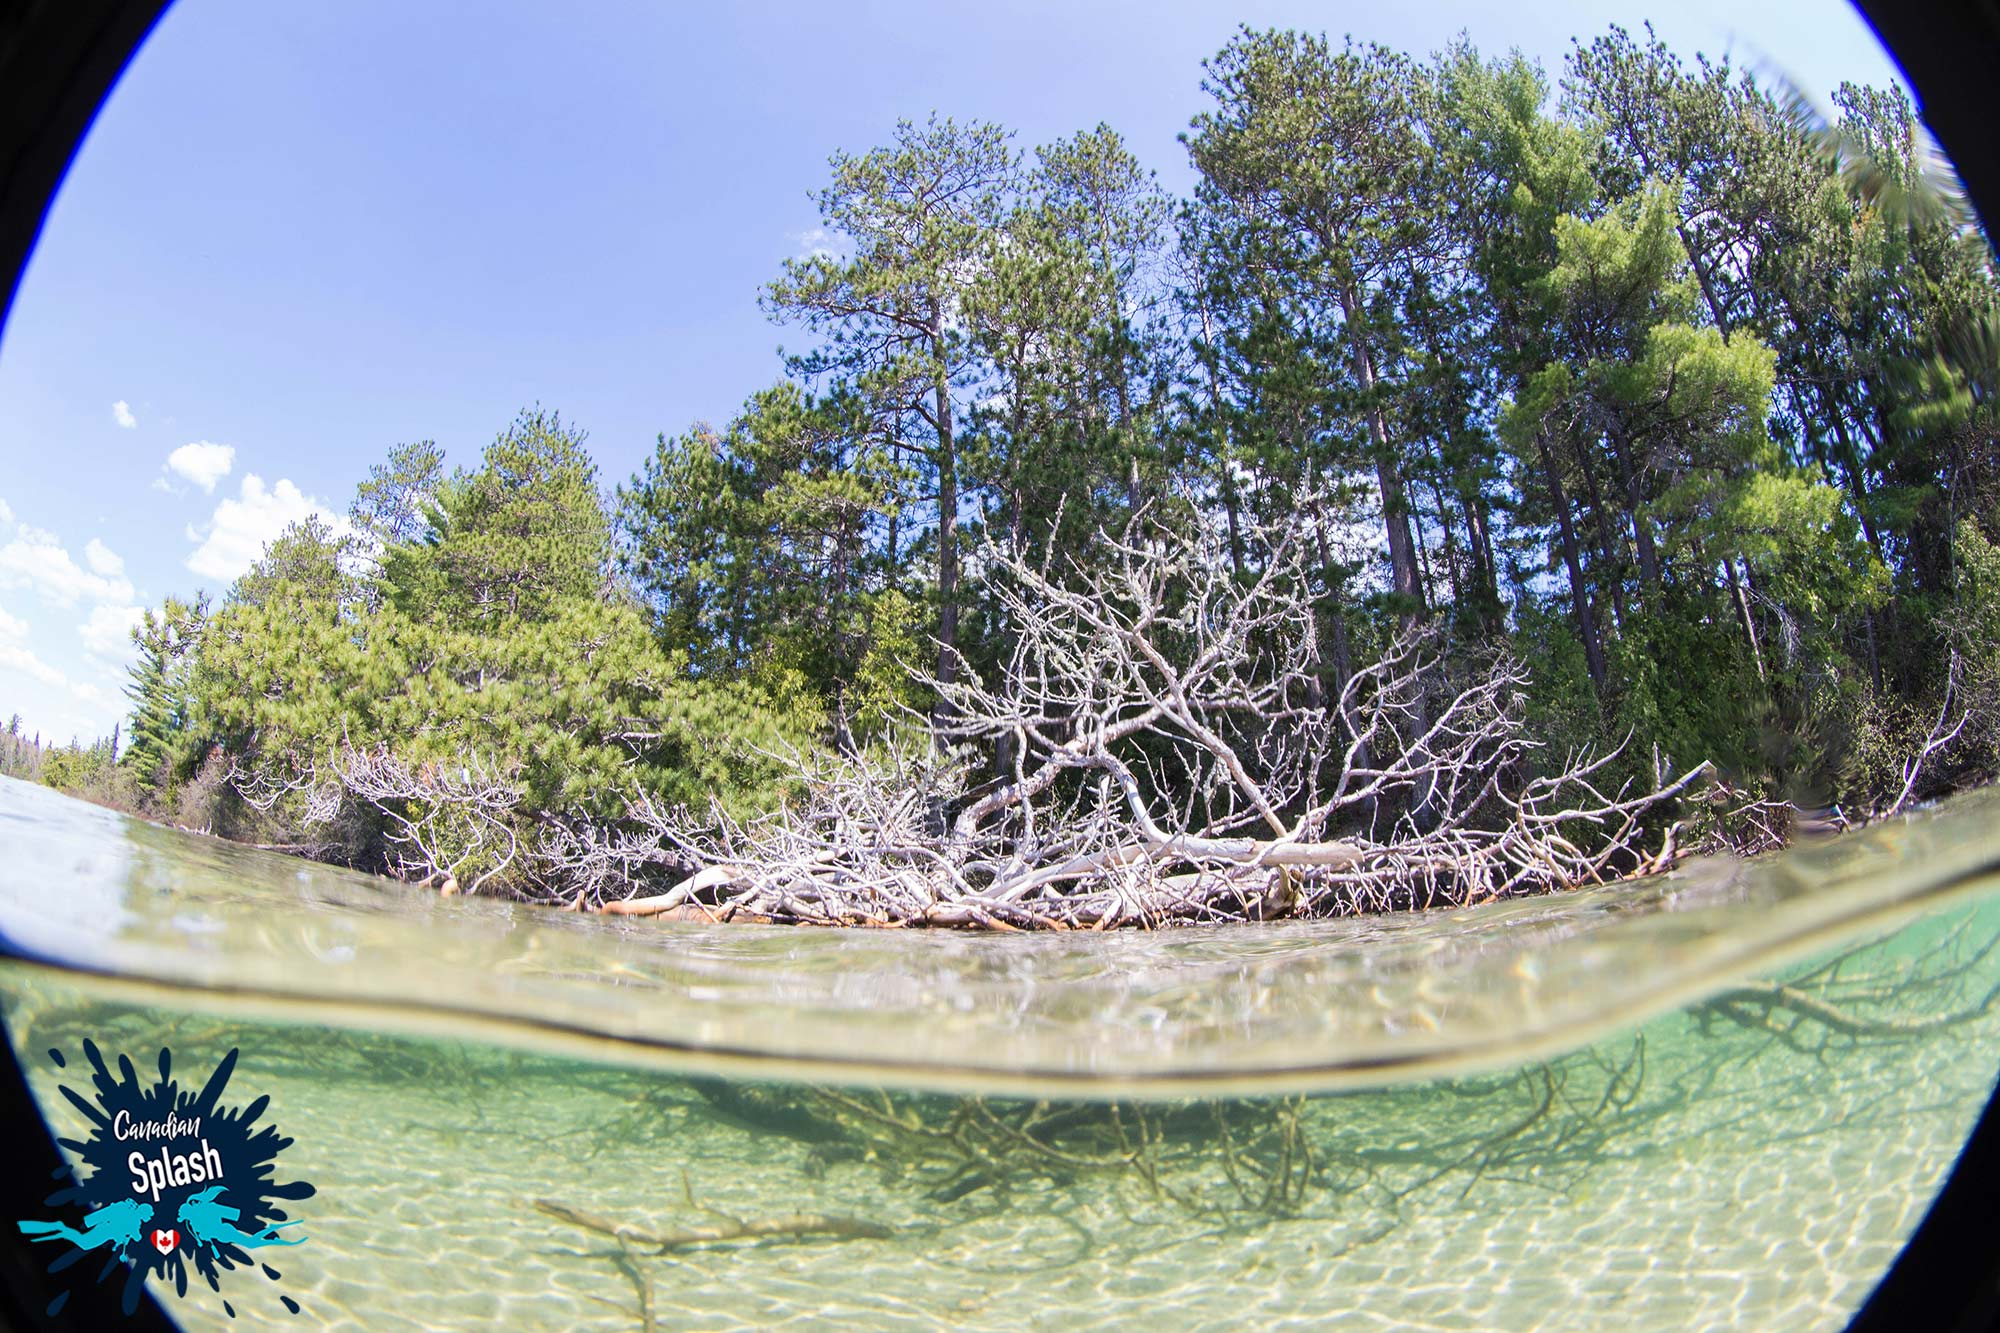
Are you an aspiring underwater photographer? What are some of your favorite split-level photography shots and which settings do you use to take them?
Writers Note: This post may contain affiliate links. We will make a small commission if you make a purchase through one of these links, at no extra cost to you. See full disclosure and disclaimer policy here.


Taking your love for photography to new depths can be a challenge. Here are eight tips and tricks for a beginner underwater photographer.
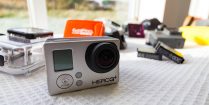
Problem: you want to take decent underwater pictures but good photography gear is just so expensive. Solution: learn how to take good underwater pictures with your handy dandy GoPro, it's easier than you think.

Not all things underwater can be seen at first glance - for some, you need to take a closer look. Macro photography is the art of close-up photography on small subjects.

Snorkeling is a water activity that involves swimming along the surface of the water with your face submerged underwater enjoying the world below. It is fun, does not require any special training and almost anyone can do it.

Dive equipment may be expensive, but new divers will find, there are many advantages to having your own set of scuba gear.

Fluodiving, fluorescent night diving, UV diving, glow diving - goes by many names. But no matter what you call this vibrant type of diving, the optical magic of fluorescence adds a totally new dimension to your night diving repertoire.
Are you a pig on air? You are not alone. Find out how you can get more out of your scuba diving tank.

Cable Bites are adorable little plastic animals, which as the name implies, “bite” onto your phone, computer and iPad cords protecting them from breakage.

Tide pools are pools of water exposed at low tide and submerged by the ocean at high tide. They give non-divers a chance to glimpse the underwater world while remaining on land.
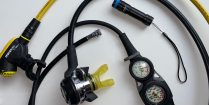
A dive light is an essential piece of your kit whether you are a beginner or a more advanced diver. Here is our review on the Xtar DB20 1000 dive light.
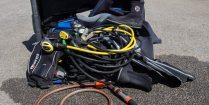
Everybody loves the idea of scuba diving, but the aspect of post dive cleanup is a much different story. It’s long, it’s tedious and it almost impossible to do it without getting wet - yet again.

It's not easy being green in a day and age where everything is plastic and waste. Let sustainability lead the way as you explore the underwater world.
