Wide-angle photography is a classic technique that can help make a huge impact on your underwater images. It is used on scenes where you want to capture as much as possible. On land, wide-angle photography is primarily used in landscape, cityscapes and architecture. Underwater, wide-angle applies to seascapes, large pelagics, shipwrecks and other man-made structures.
As I have quickly learned over my many years shooting underwater, wide-angle photography has a much steeper learning curve than macro photography. When it comes to this discipline, there’s more to think about with wide-angle shooting. This arises due to the need of balancing the foreground and background exposure as well as using both artificial and natural light.
Move aside landscape photography, it’s time to start shooting seascapes.
Wide-angle photography allows you to capture broad vistas of undersea life. The most common description of wide-angle is one that displays a wider field of view than our vision (roughly 65 degrees). In terms of subject sizing, a good rule of thumb is anything larger than a basketball should be considered a wide-angle subject.
In the aquatic world, a dense water column will gradually distort your image sucking away colour and clarity. This increases with distance from your subject. Because of this, getting close to your subject while keeping the rest of the scenery in view helps maintain an image’s crispness and vibrance. Hence, the appeal of wide-angle underwater photography.
There are two main types of wide-angle viewpoints image framing. Fisheye provides an ultra-wide angle. Their view is usually 180 degrees. They cram as much into a shot as possible and due to the lens distortion, don’t produce straight lines. Rectilinear wide angles are a second type. They don’t provide the full 180 views but come close. They have a smaller amount of distortion to the fisheye but keep lines close to straight.
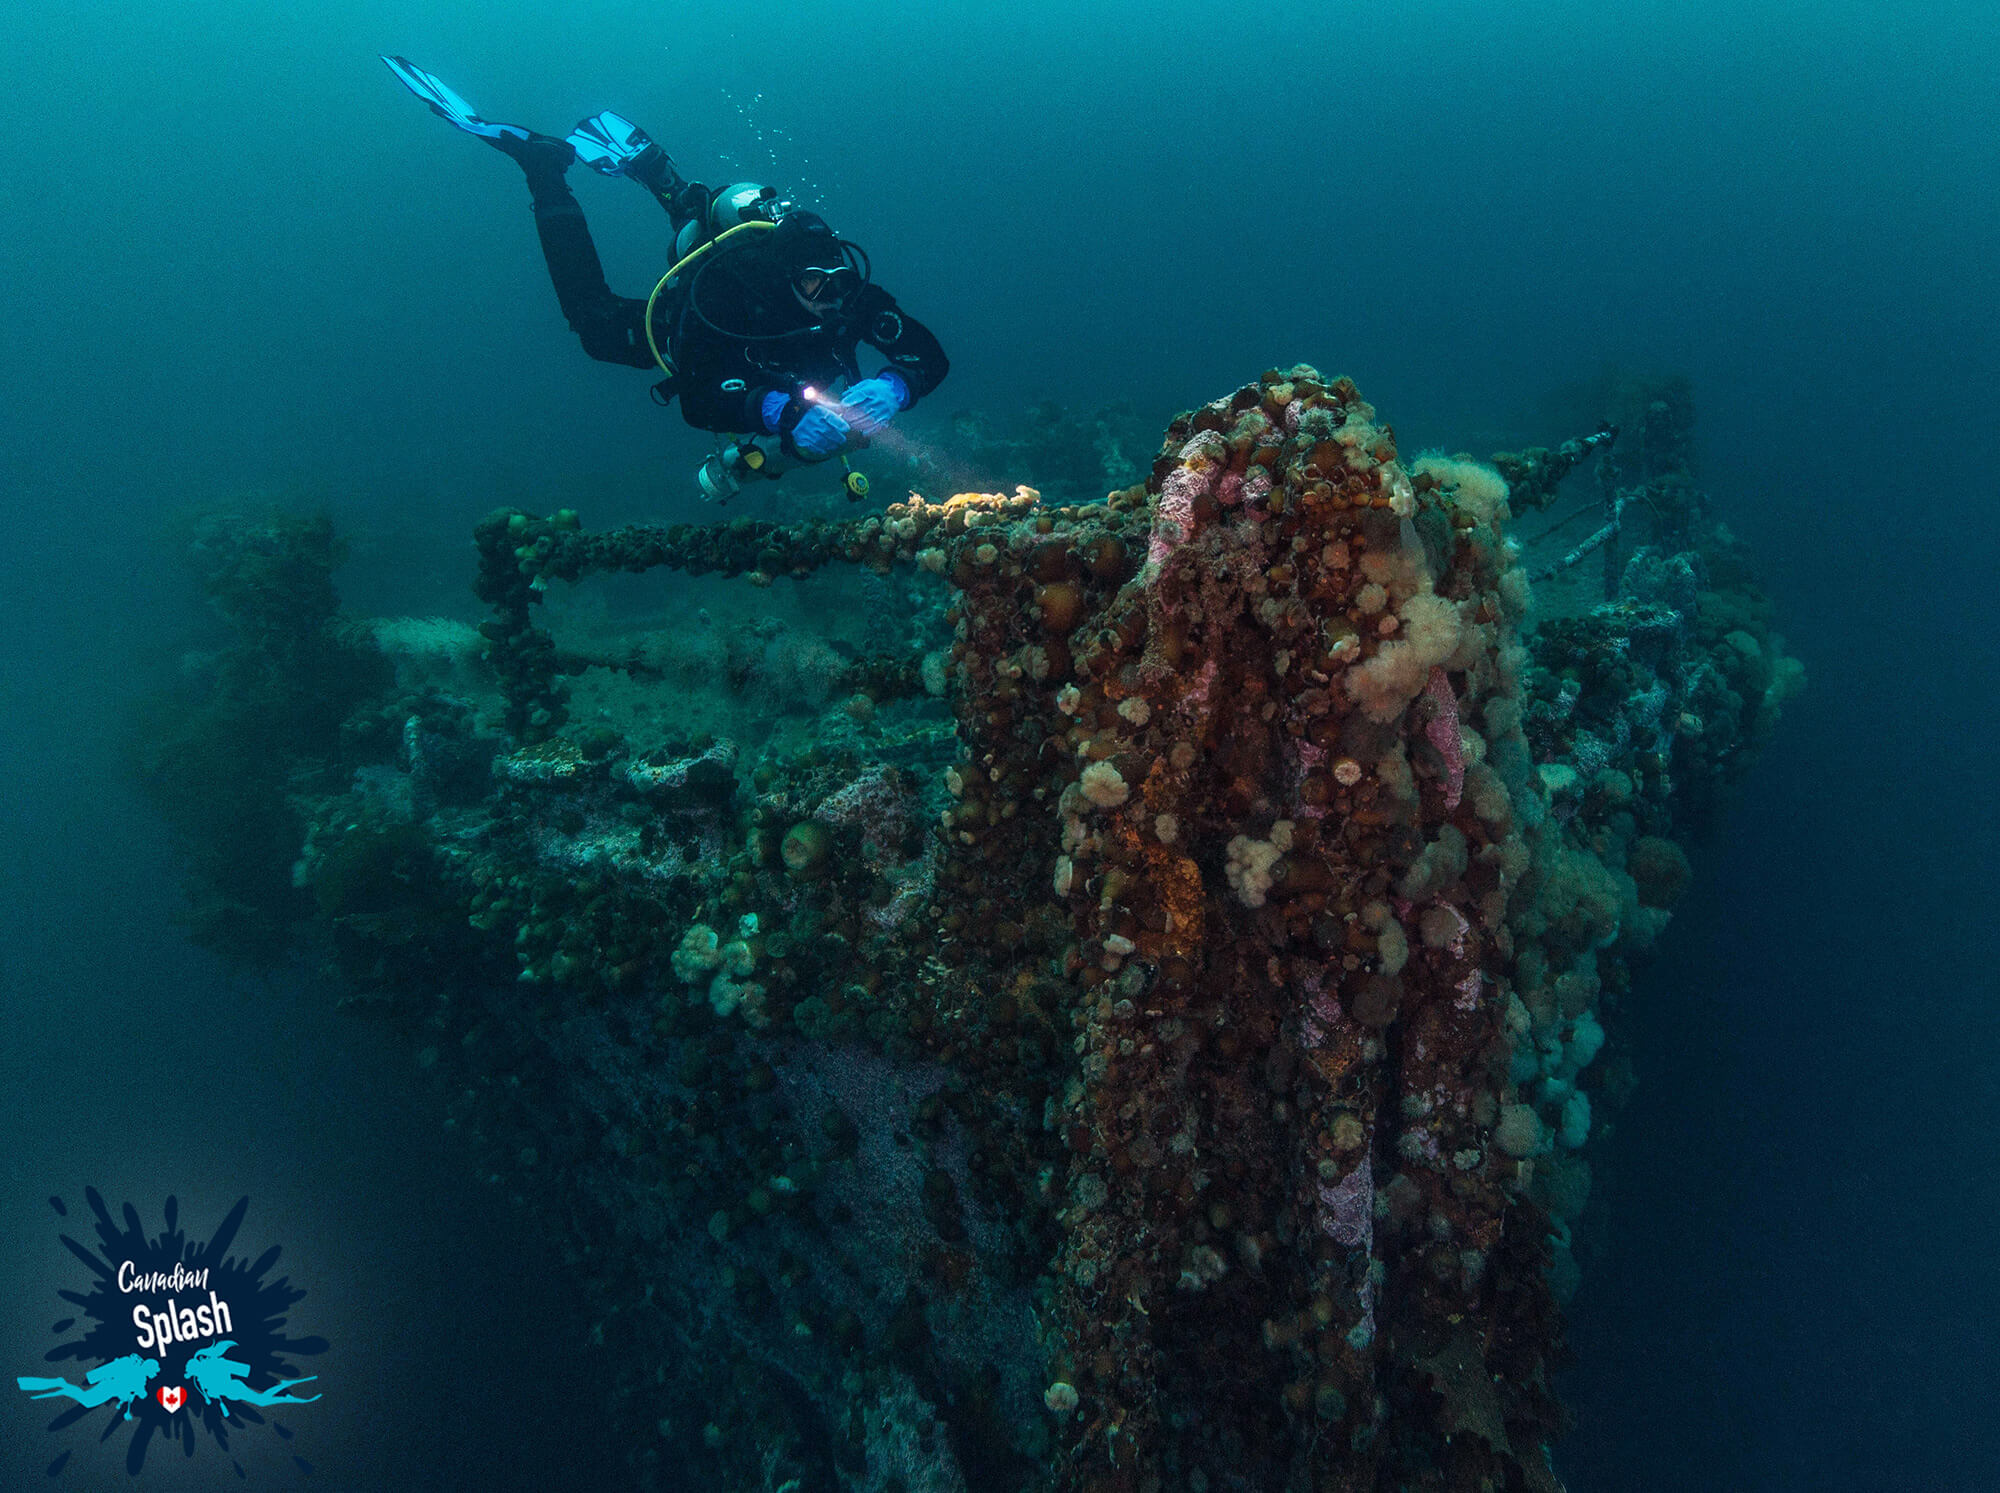
For wide-angle photography, the most important thing is having a rectilinear or fisheye lens with the corresponding housing and dome port is essential. Our favourites are the canon EFS 10-18mm rectilinear wide-angle and the canon EF 8-15mm fisheye. These lenses fit well with our Canon EOS Rebel SL1, produce sharp images and have a great depth of field, even at close distances.
Beyond the camera, lens and housing, a pair of strobes and also critical for wide-angle photography. Dive Buddies uses two powerful DS161 Ikelite strobes anchored to extendable arms on either side of our camera dome. These strobes aid in lighting up the underwater portion of the frame bringing life and colour back to an otherwise monochromatic world. We recommend getting the best strobes that you can afford.
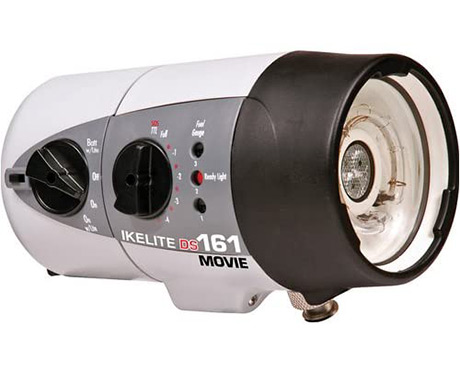
Our go-to photography strobes are the Ikelite DS161 with NiMH rechargeable battery pack. The DS160 series strobes are specifically designed for underwater use to provide the most colorful and natural wide-angle lighting on the market.
Once you’ve figured out your wide-angle camera equipment necessities, the next thing to consider is the camera settings. Wide-angle photography is a complex style of shooting where a variety of camera settings can produce an interesting image. These settings can also vary depending on the environment and conditions.
Our suggestion for wide-angle beginners with a DSLR – set your camera up for manual shooting as follows:
Shutter speed:
1/100 – 1/125
Aperture:
f/8
ISO:
200 – 400
We like to change our exposure depending on the desired effect and shooting location. Tropical diving has us using an ISO of 200 and a shutter speed of 1/125 to 1/160. In lower visibility water or when shooting things that are further away, we change our aperture to f/5.6.
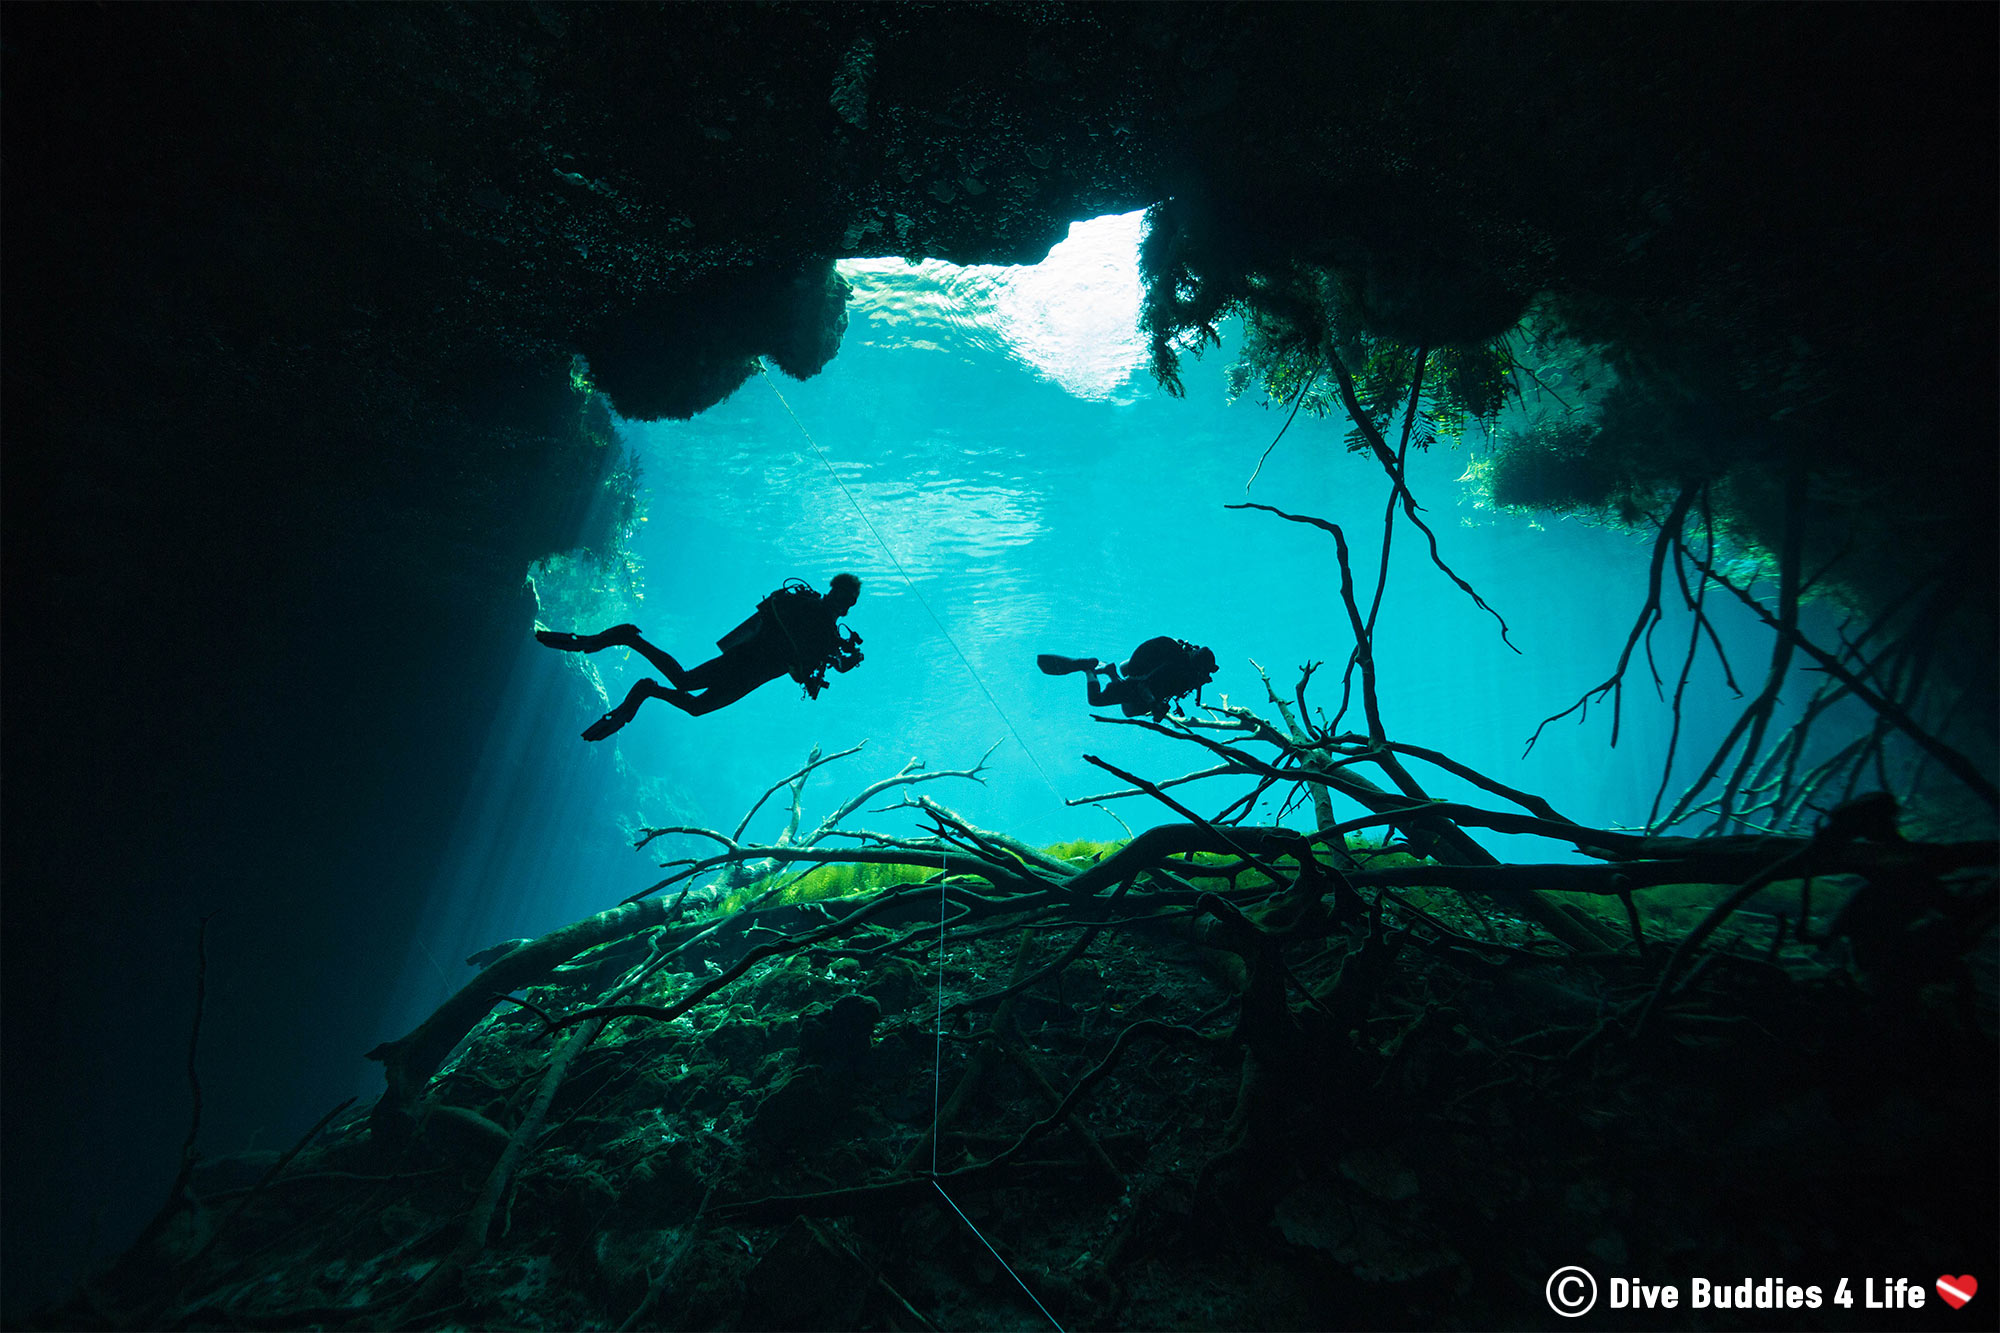
Wide-angle photography is a technique with many different facets. It can take years, if not decades to master. Here are some tips and tricks worth considering to up your wide-angle photography results:
When shooting wide-angle photography, the nature of the lens automatically creates a certain degree of separation between the photographer and their subject. A great way to eliminate this space is to make sure your foreground subject takes up a significant portion of the screen. So get as close as practical to your subject without touching it!
Many eye-catching wide-angle shots have a subject only a few inches from the dome. This allows the curved nature of the lens and dome to draw eyes towards your subject.
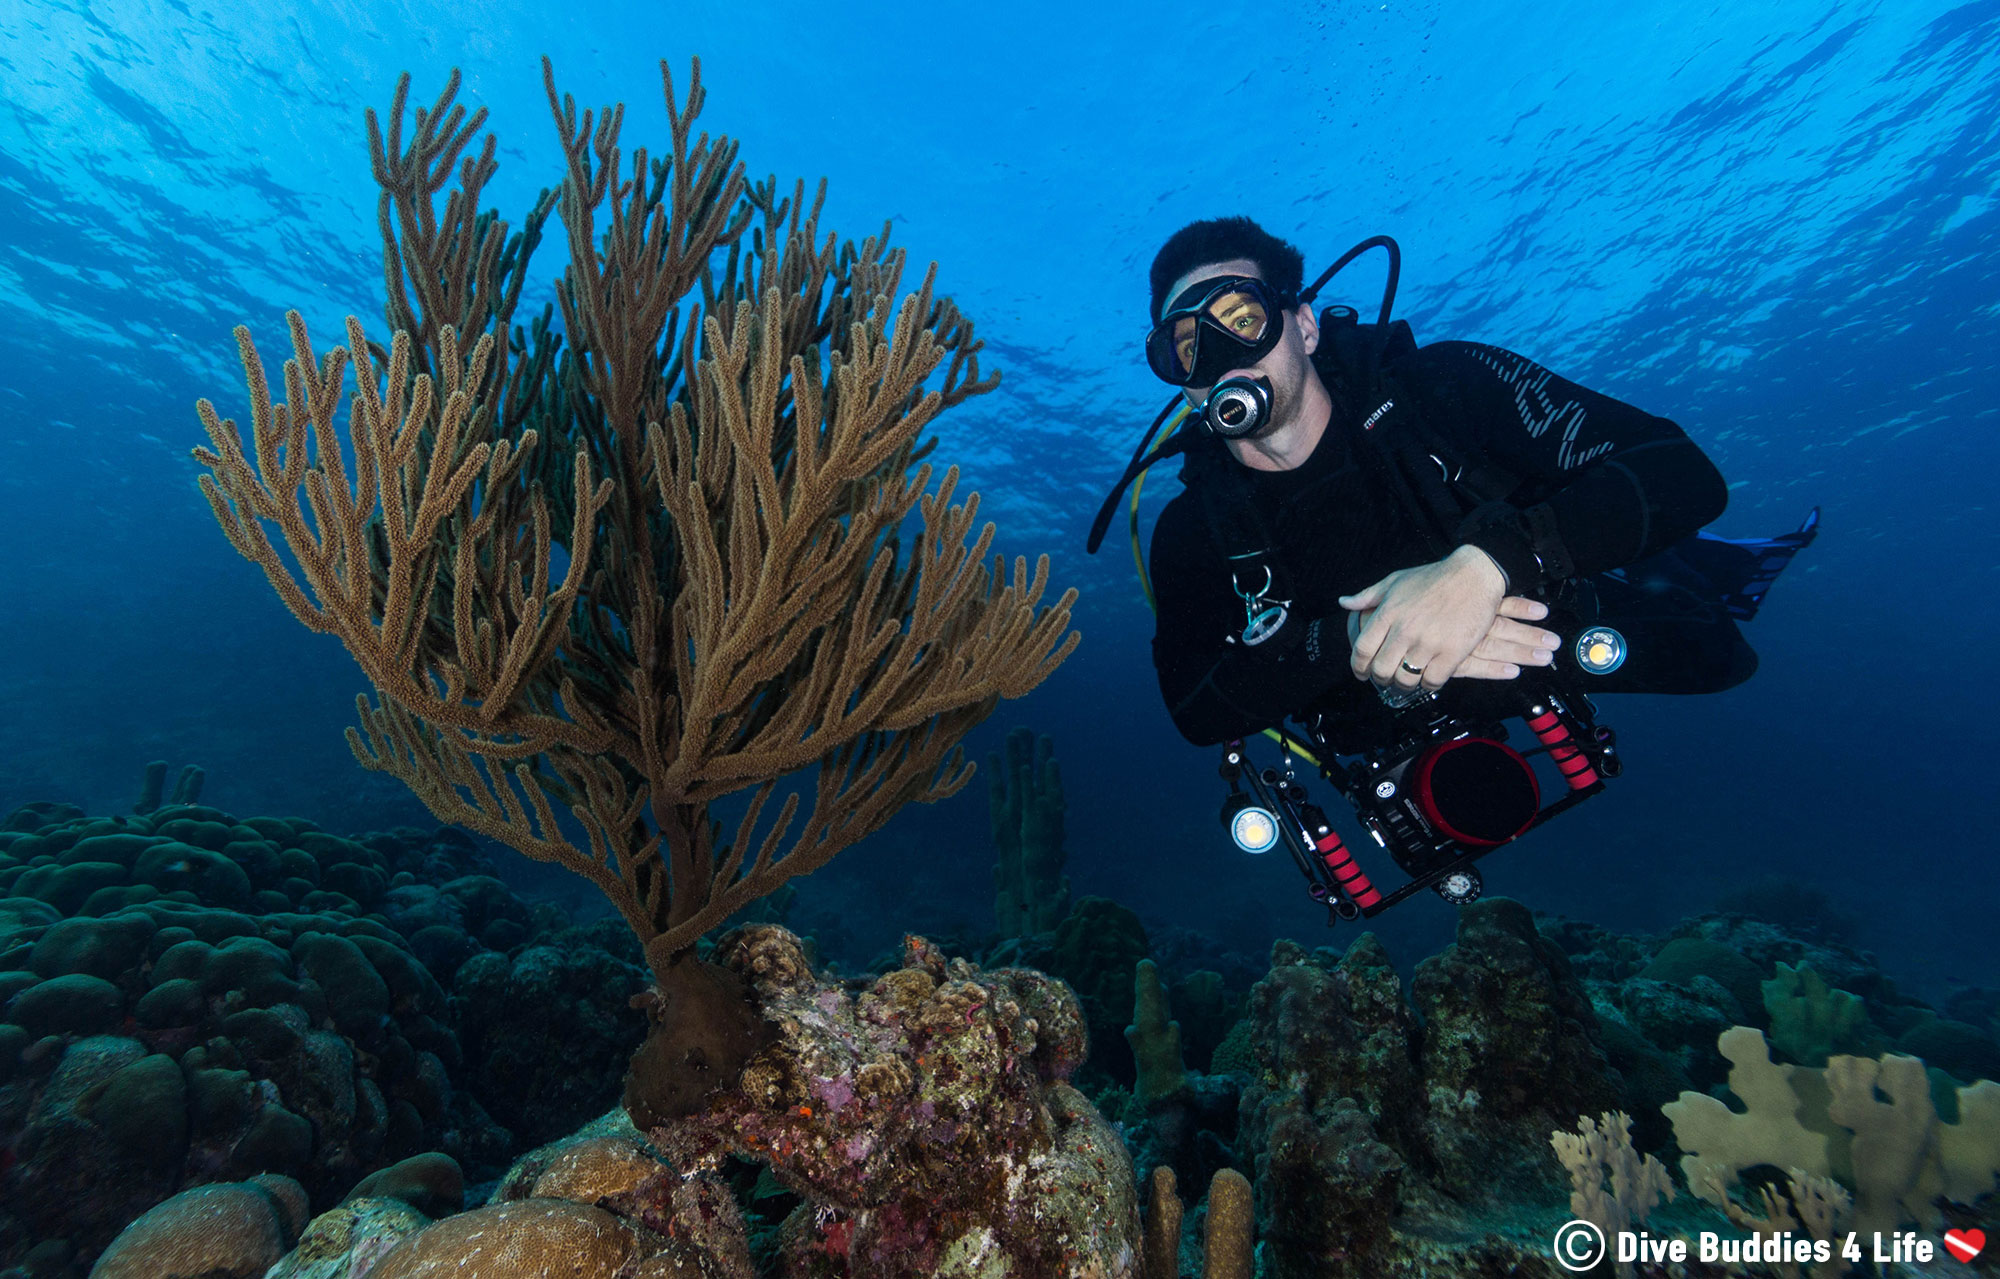
Composition is a paramount part of any photography image. In underwater photography, a good wide-angle shot includes a well-lit foreground with a focus subject and a strong background with complementary aspects such as the sun, a diver, a boat, fish or a structure. This creates a cohesive striking photograph.
When shooting wide-angle images, think of your canvass in terms of layers. Visualize them and stack them in your composition so that they create a visual path leading from the foreground to the background. Leading lines, curves and spirals can all lead to amazing compositions. Shooting at an upwards angle also adds depth and interesting perspectives to your shots.
Take the shot below as an example. We’ve highlighted the layering in this aquascape so you can see how we would break down an image. The first layer (yellow) is the focal point or the large piece of soft coral at the heart of the image. This is accompanied by the second layer (orange), the close mounds of reef surrounding this soft coral. The third layer (red) is the distant cascading reef flowing upwards and the final layer (blue) is the fish and surface water which complements the scene beautifully.
Getting uniform lighting on the entire frame of your wide-angle image will be next to impossible, so concentrate on lighting the foreground subject. One or two strobes are helpful in bringing vibrance back to the front of your image. To keep from overexposing the subject, try having your strobe on a long arm. Typical strobe positioning is the 10 and 2 position of a clock face however it is important to fluidly move your strobes to fit with the environment and the subject you are shooting.
For instance, in areas with lots of backscatter, it’s important to point the strobes outwards instead of at the subject. With a fisheye lens it’s easy to accidentally light up the water column because the strobes are so close – to fix this we pull our strobes further back behind the dome port to even out lighting. Some other good strobe adjustments include; wide strobe positioning when we are shooting schools of fish or large scenes and tight-to-the-housing strobes for close-focus wide-angle.
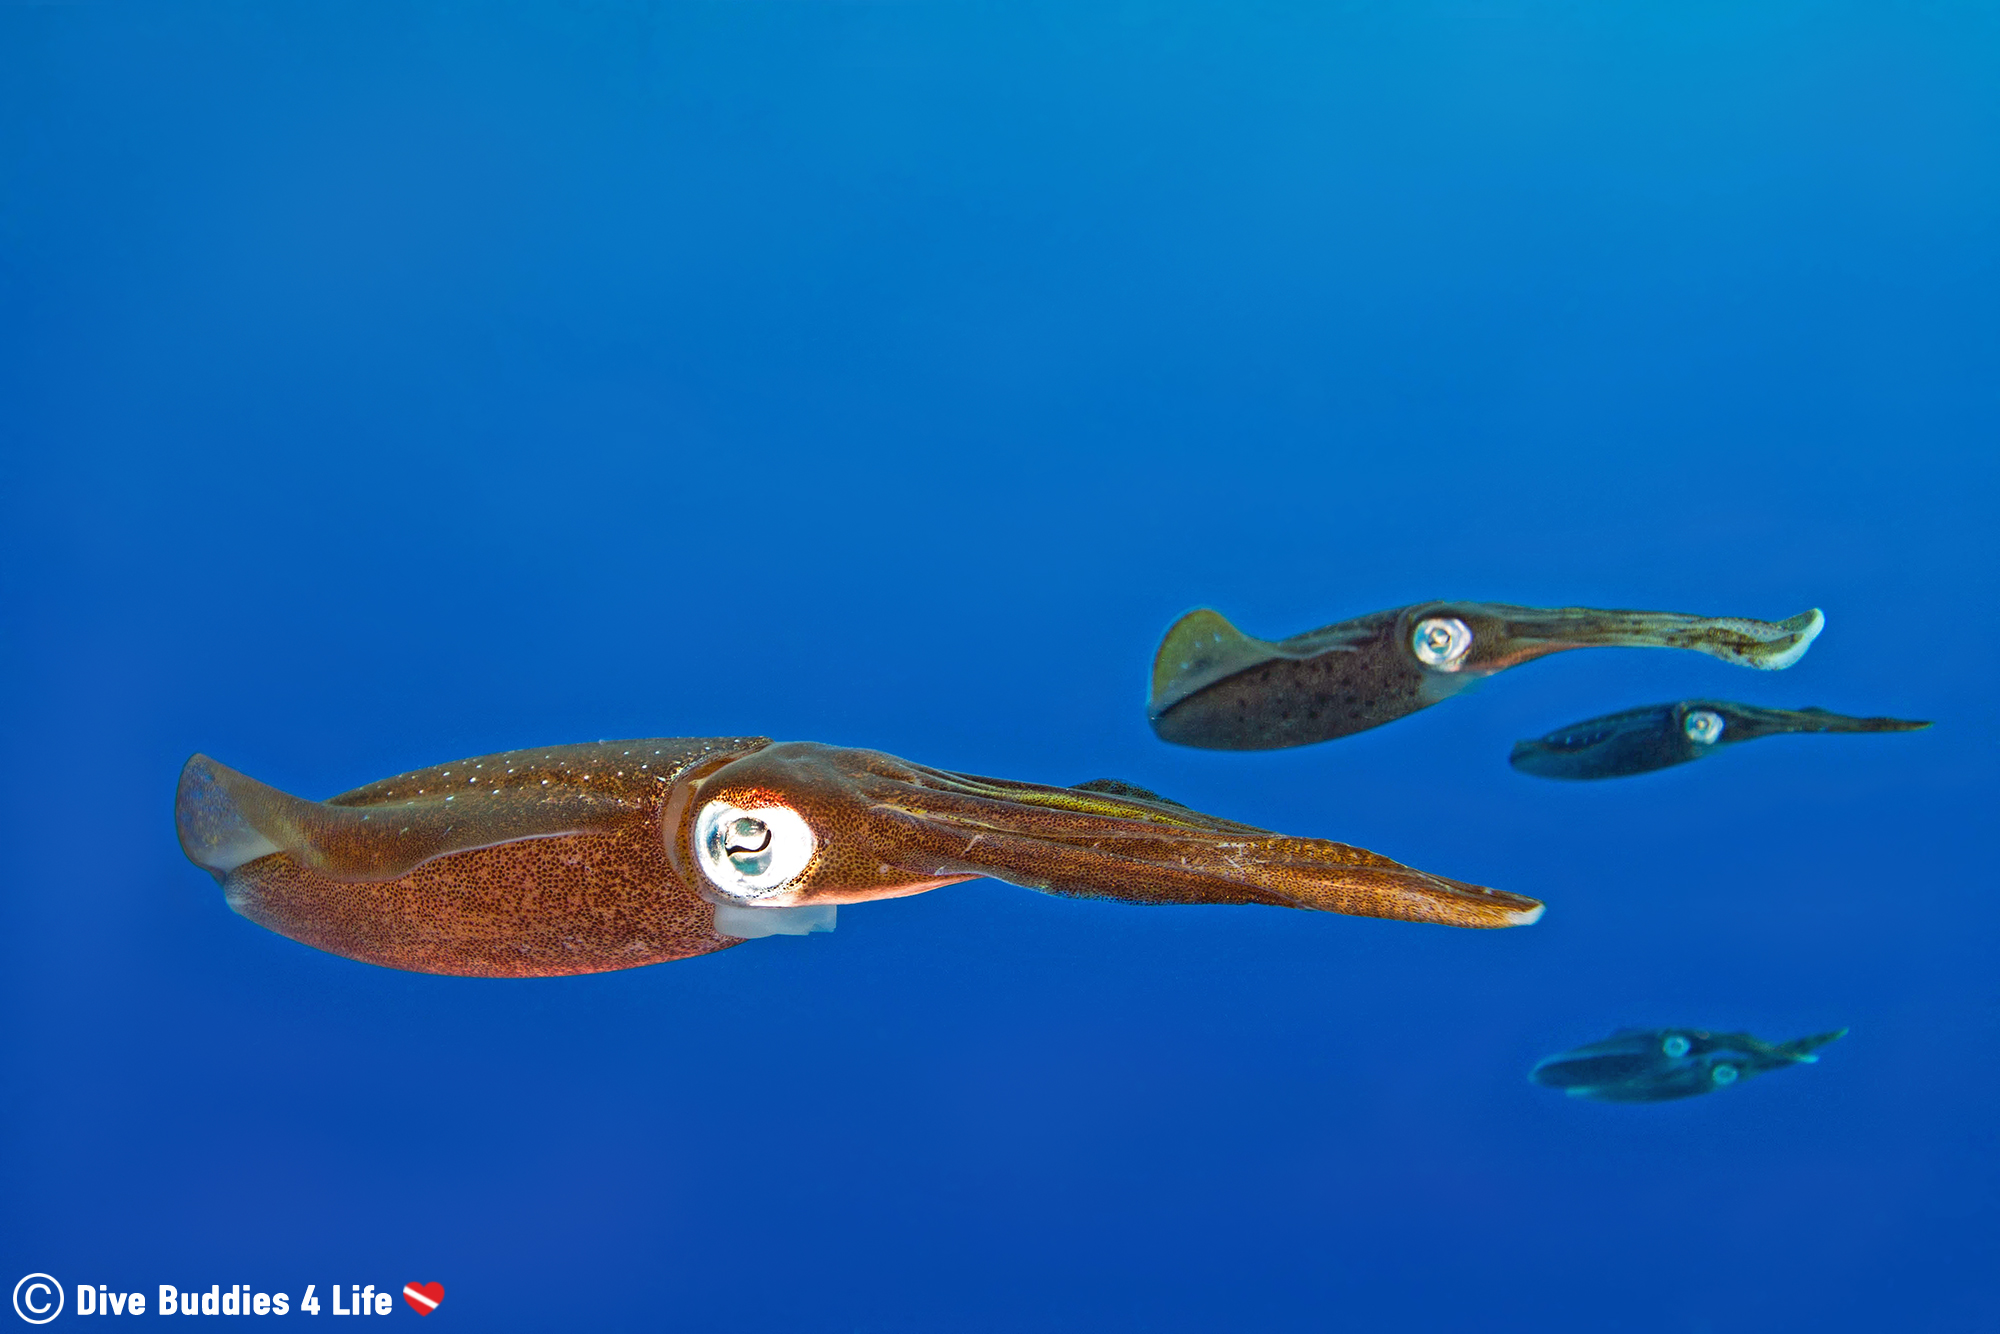
Shoot once, twice, ten times. The more images you take of your subject or composition, the better your chances of having a picture with the right pose. You will have plenty of time to erase the less satisfying ones on your surface interval. Practice makes perfect!
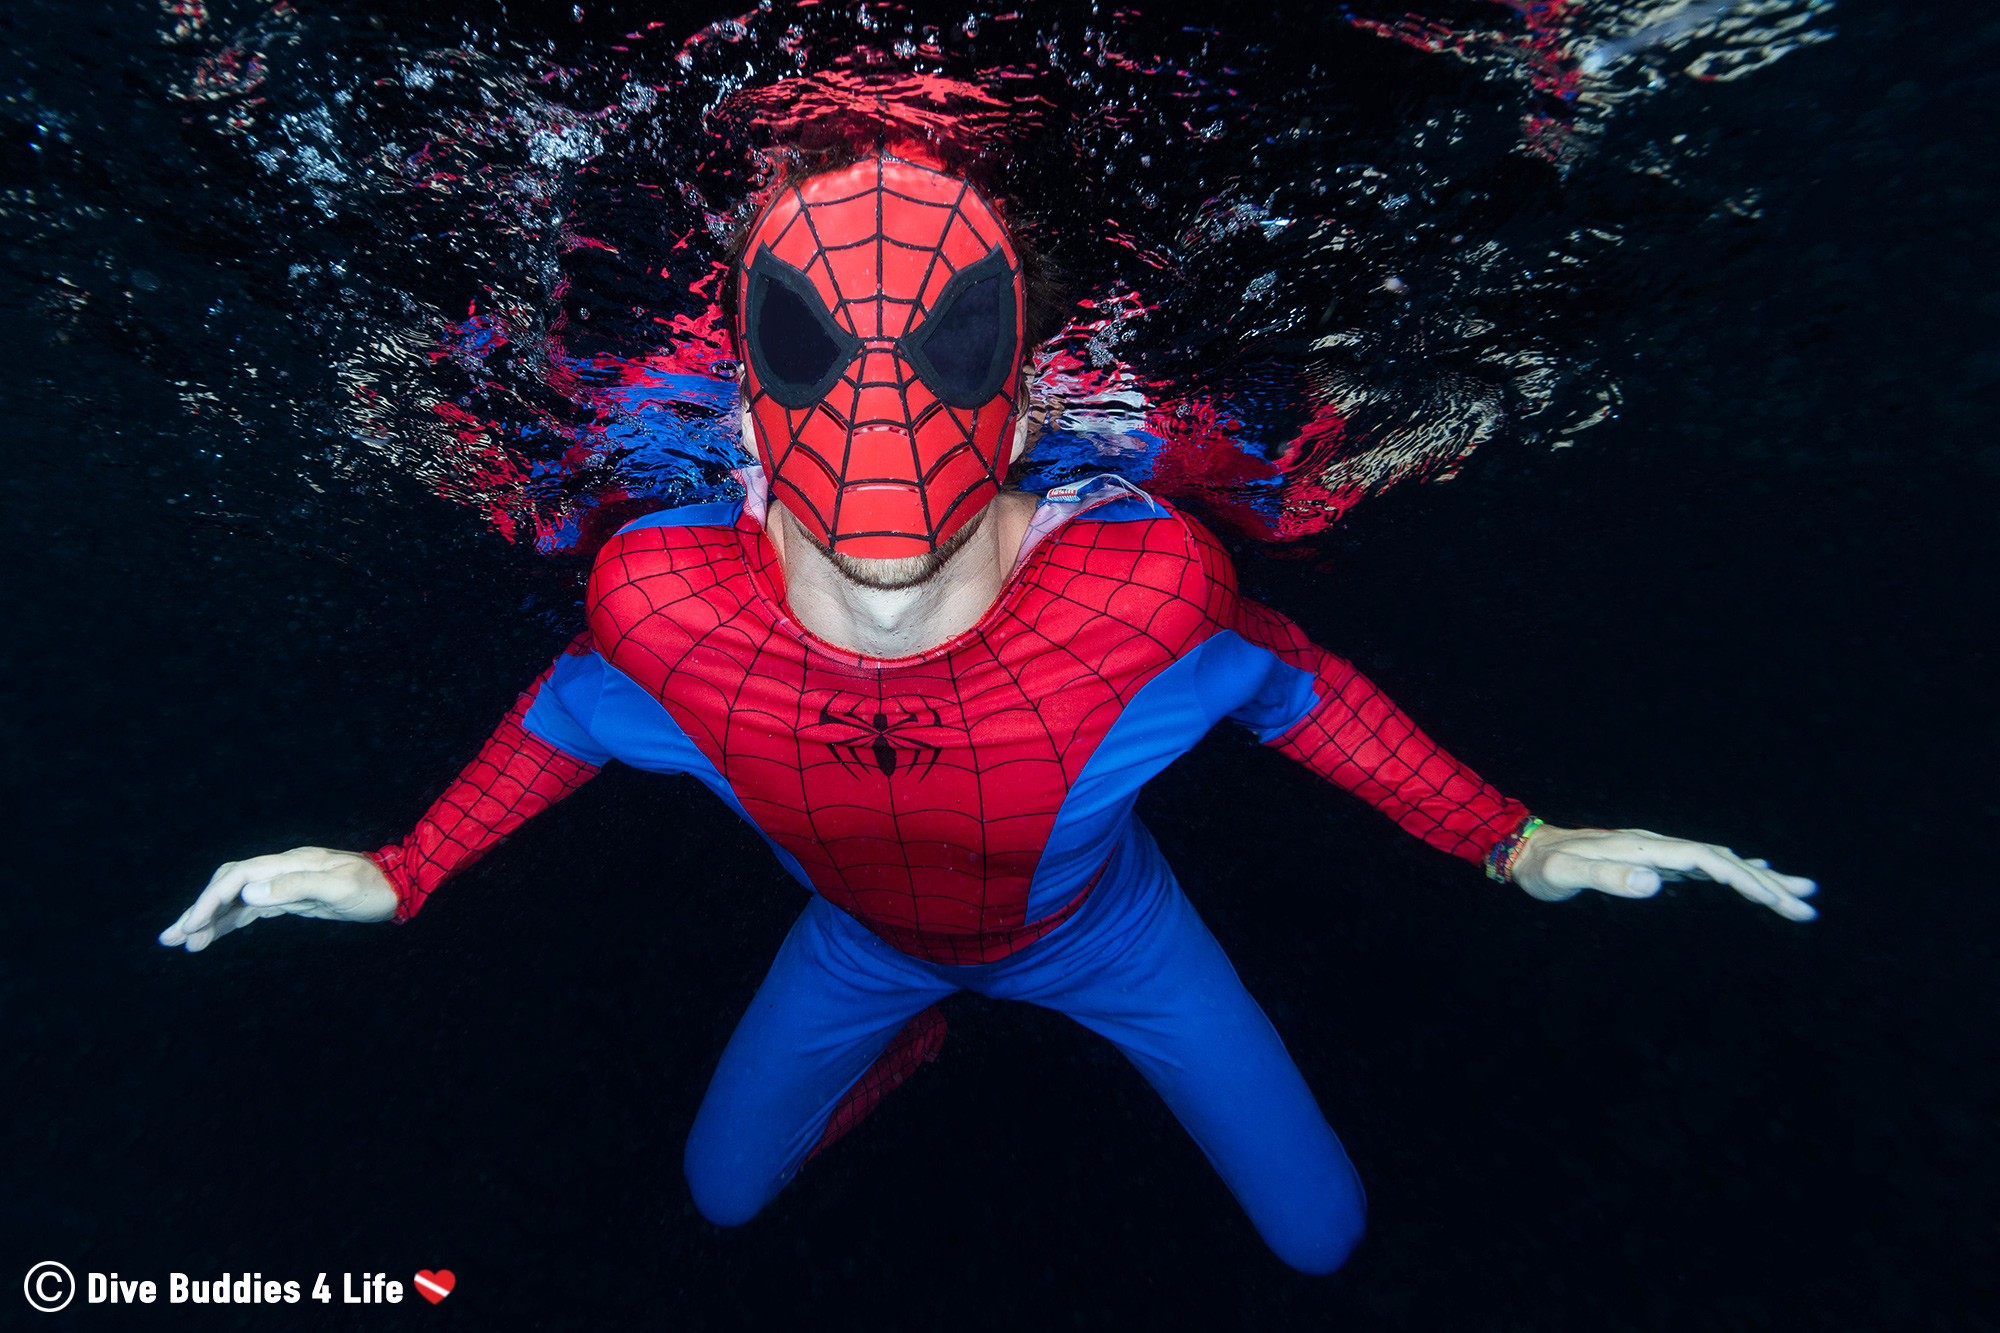
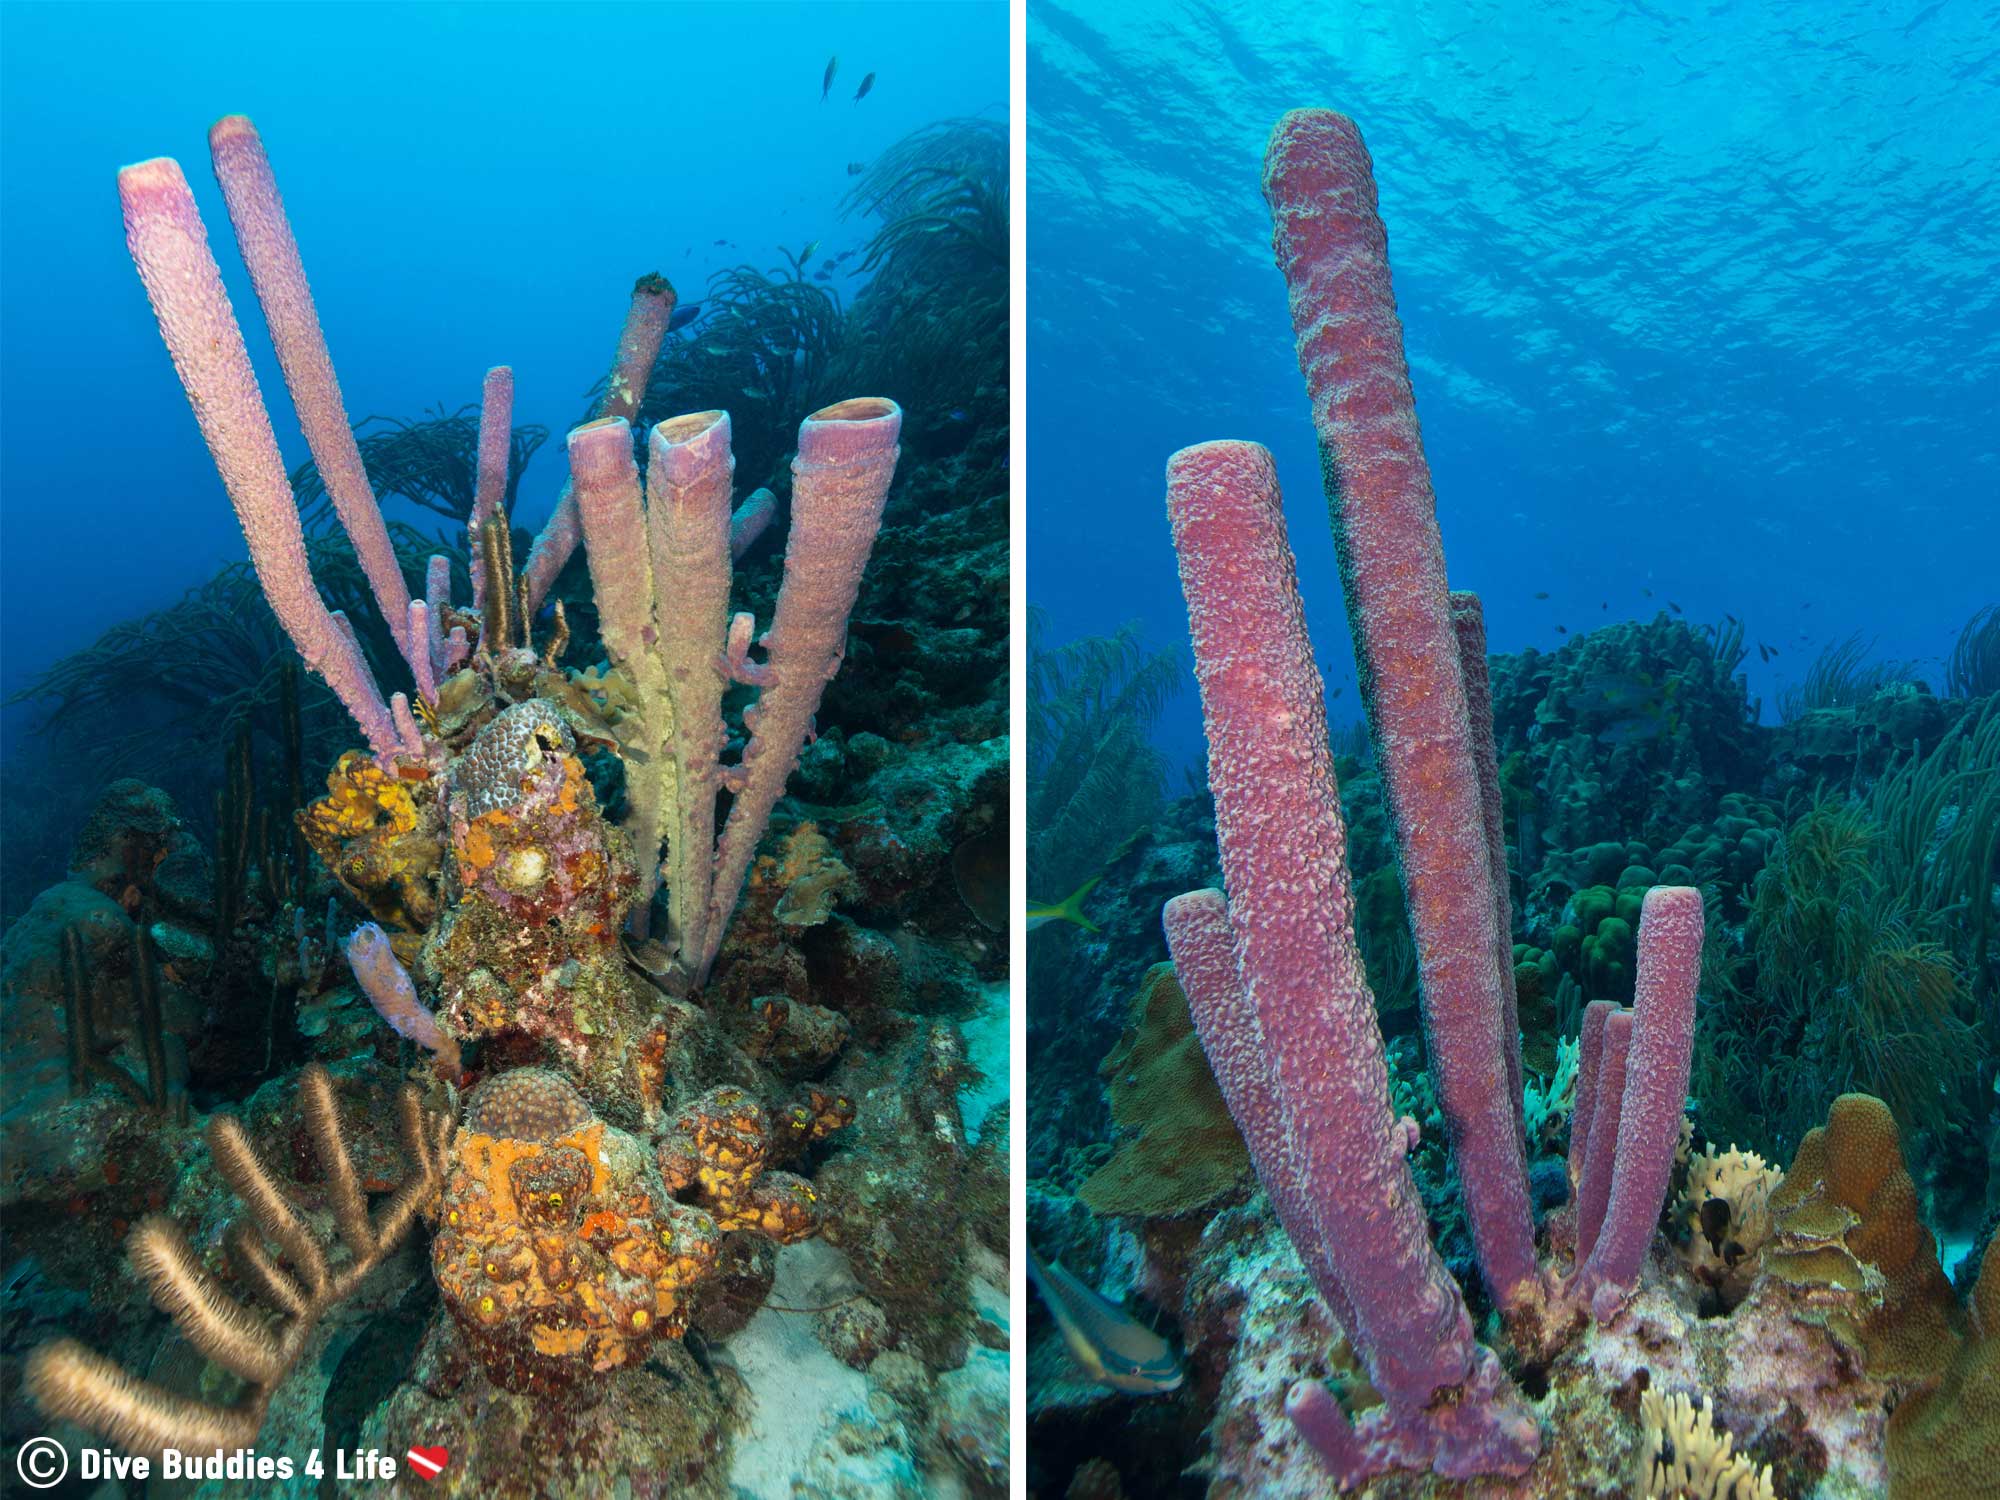
Another good beginner habit is to master your framing and lighting by using immobile subjects. Trust us when we say it will make your life A LOT easier. Coral and sponges make great practice objects. Their immobile nature and the flare of colour they sometimes have can go a long way in helping you learn by trial and error, how to balance your image.
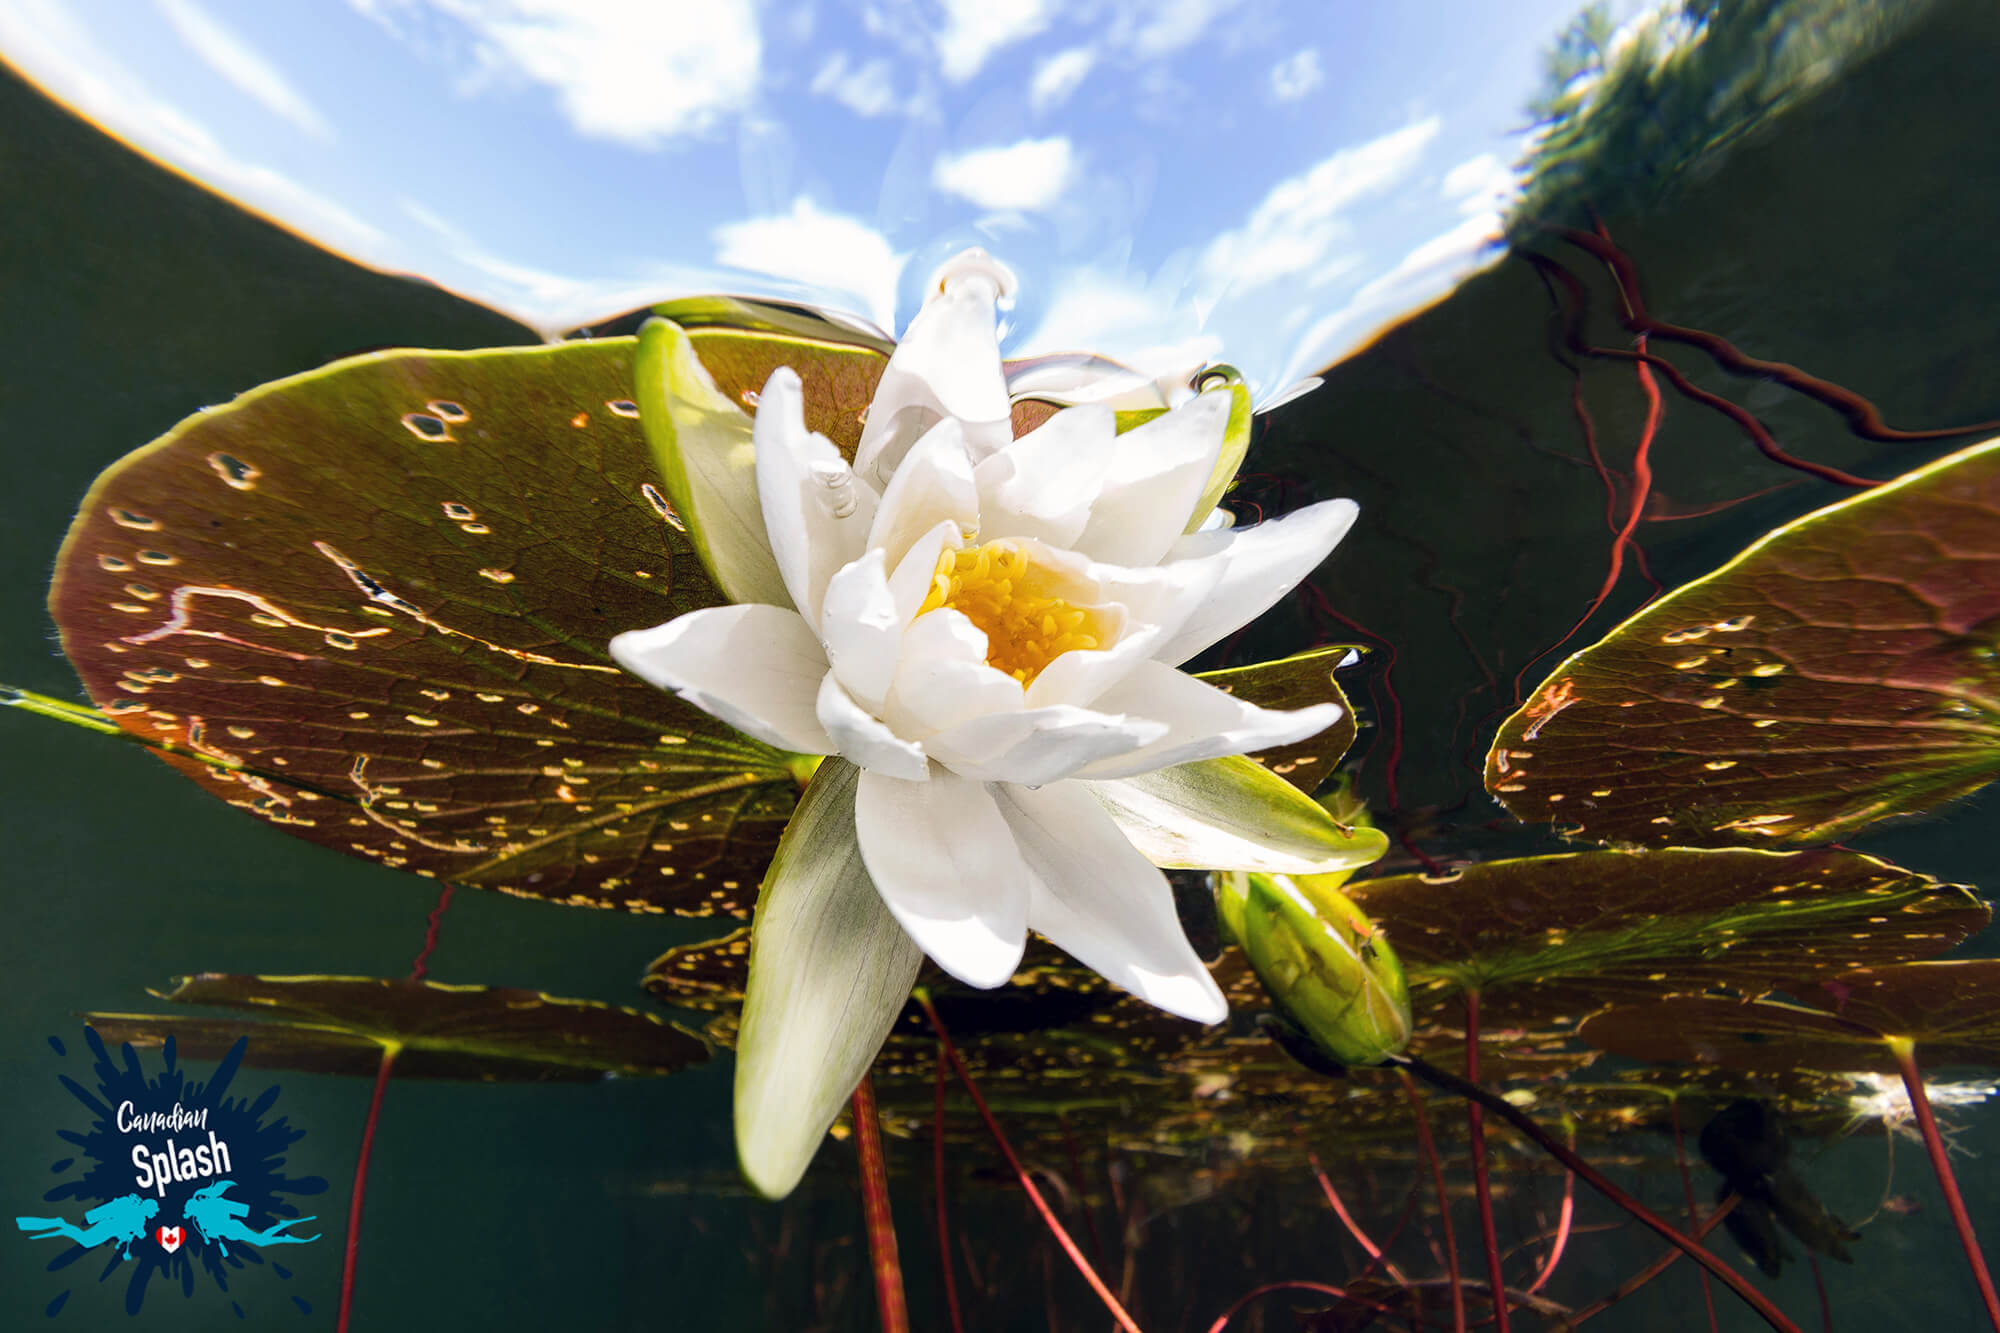
Most photographers, myself included, fall into the horizontal rut. We become too lazy to flip our cameras in a different orientation because in doing so we would need to swap our strobes as well.
For wide-angle photography don’t fall into this trap. Be bold and daring. Experiment with shooting scenes both vertically and horizontally. You might surprise yourself and quickly discover that the orientation you had originally planned for the shot is not the best option.
Although the ocean is teeming with strange and beautiful macro subjects, diving into wide-angle photography allows a photographer to up their game and capture awe-inspiring images with a BIG impact. From dramatic reef scapes to mammoth-sized whales to eerie shipwrecks, wide-angle images can take many forms. But in this style of photography the creative possibilities are endless and with a little practice can be extremely rewarding.
What is your favourite style of underwater photography? Have you tried wide-angle yet? If so how long did it take you to get comfortable shooting?
Writers Note: This post may contain affiliate links. We will make a small commission if you make a purchase through one of these links, at no extra cost to you. See full disclosure and disclaimer policy here.


Taking your love for photography to new depths can be a challenge. Here are eight tips and tricks for a beginner underwater photographer.
Not all things underwater can be seen at first glance - for some, you need to take a closer look. Macro photography is the art of close-up photography on small subjects.
Problem: you want to take decent underwater pictures but good photography gear is just so expensive. Solution: learn how to take good underwater pictures with your handy dandy GoPro, it's easier than you think.
Split-level photography goes by many names. But regardless of what it’s called, this mixture of aquatic and terrestrial imagery takes viewers on a dynamic journey through two vastly different realms.

Dive equipment may be expensive, but new divers will find, there are many advantages to having your own set of scuba gear.
Snorkeling is a water activity that involves swimming along the surface of the water with your face submerged underwater enjoying the world below. It is fun, does not require any special training and almost anyone can do it.
It's not easy being green in a day and age where everything is plastic and waste. Let sustainability lead the way as you explore the underwater world.
